Getting Started with FlexyNook: Setting Up Sites and Workspaces
Welcome to FlexyNook! Setting up your hybrid office environment requires two essential priority actions: creating your site location and adding workspaces. Follow this guide to get your organization up and running quickly.
Create Your First Site Location
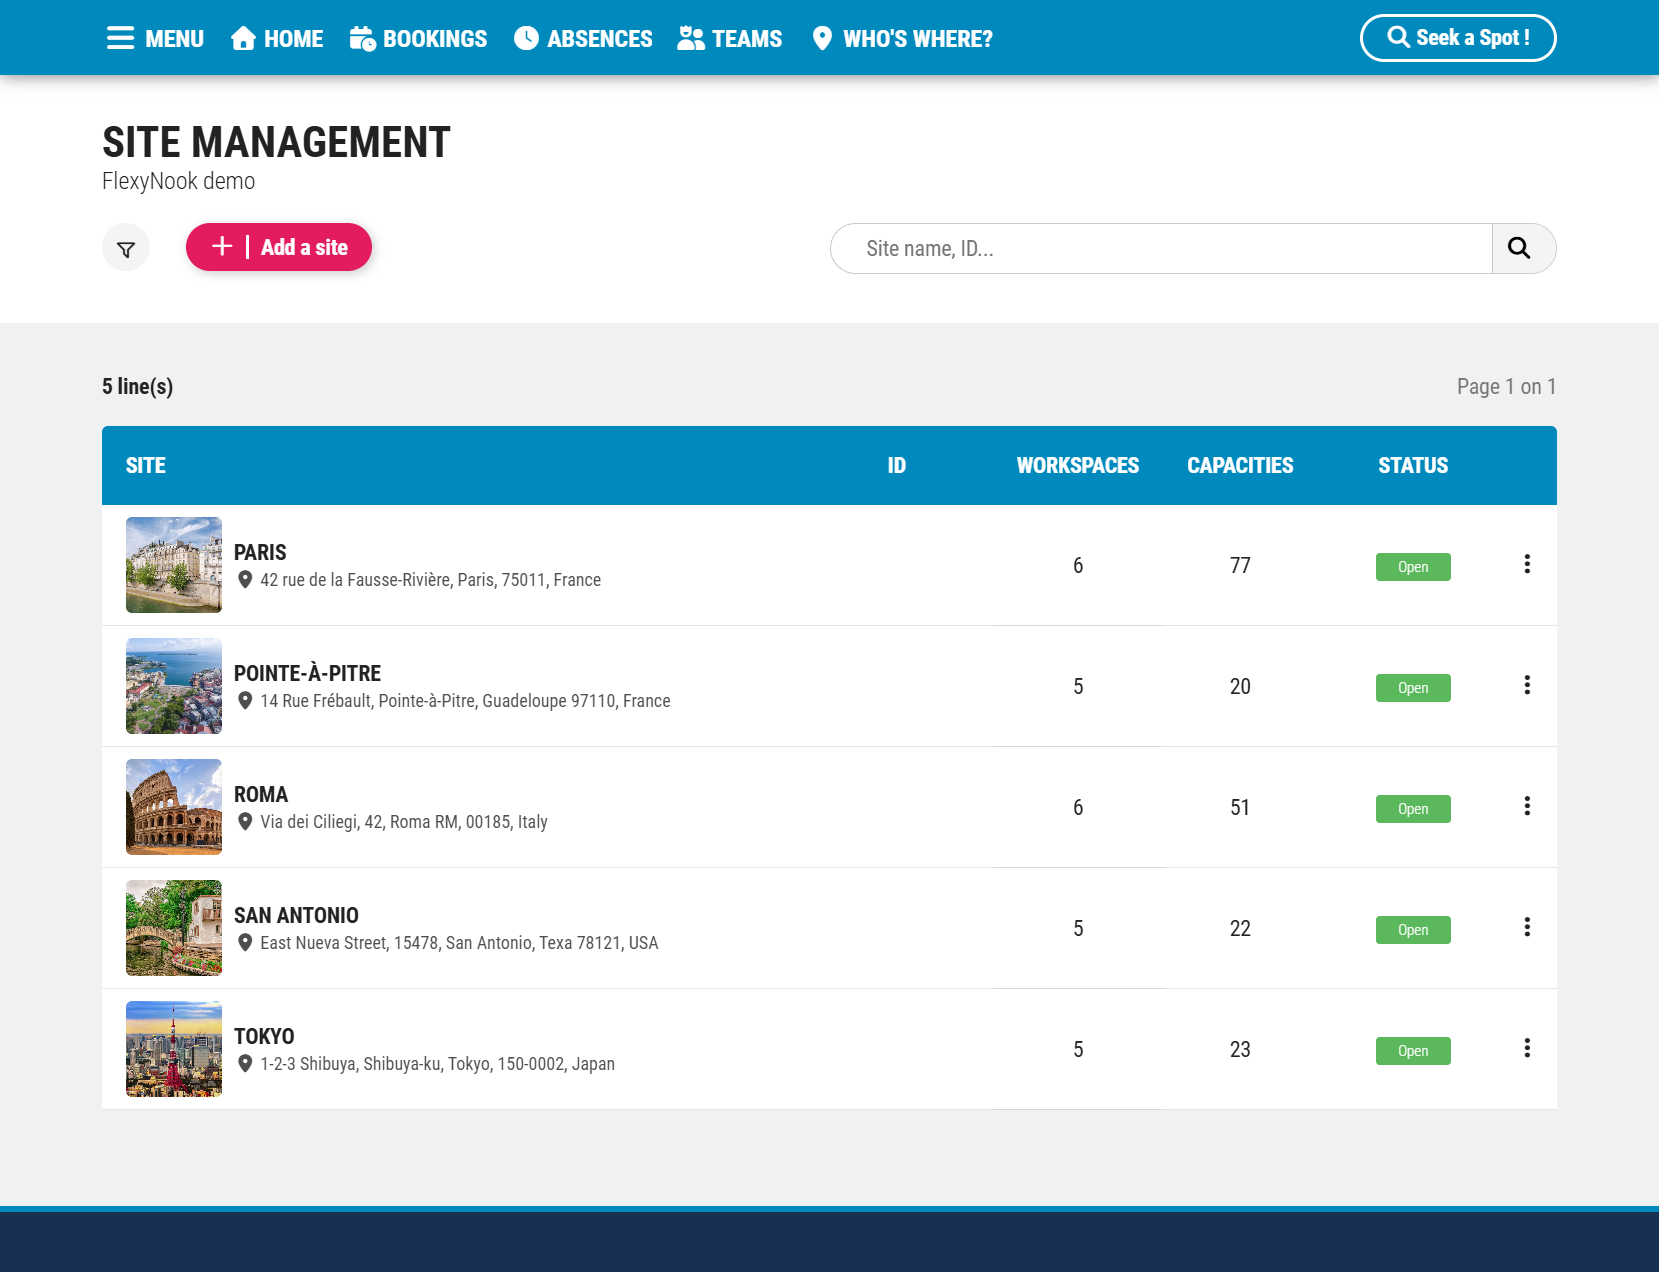
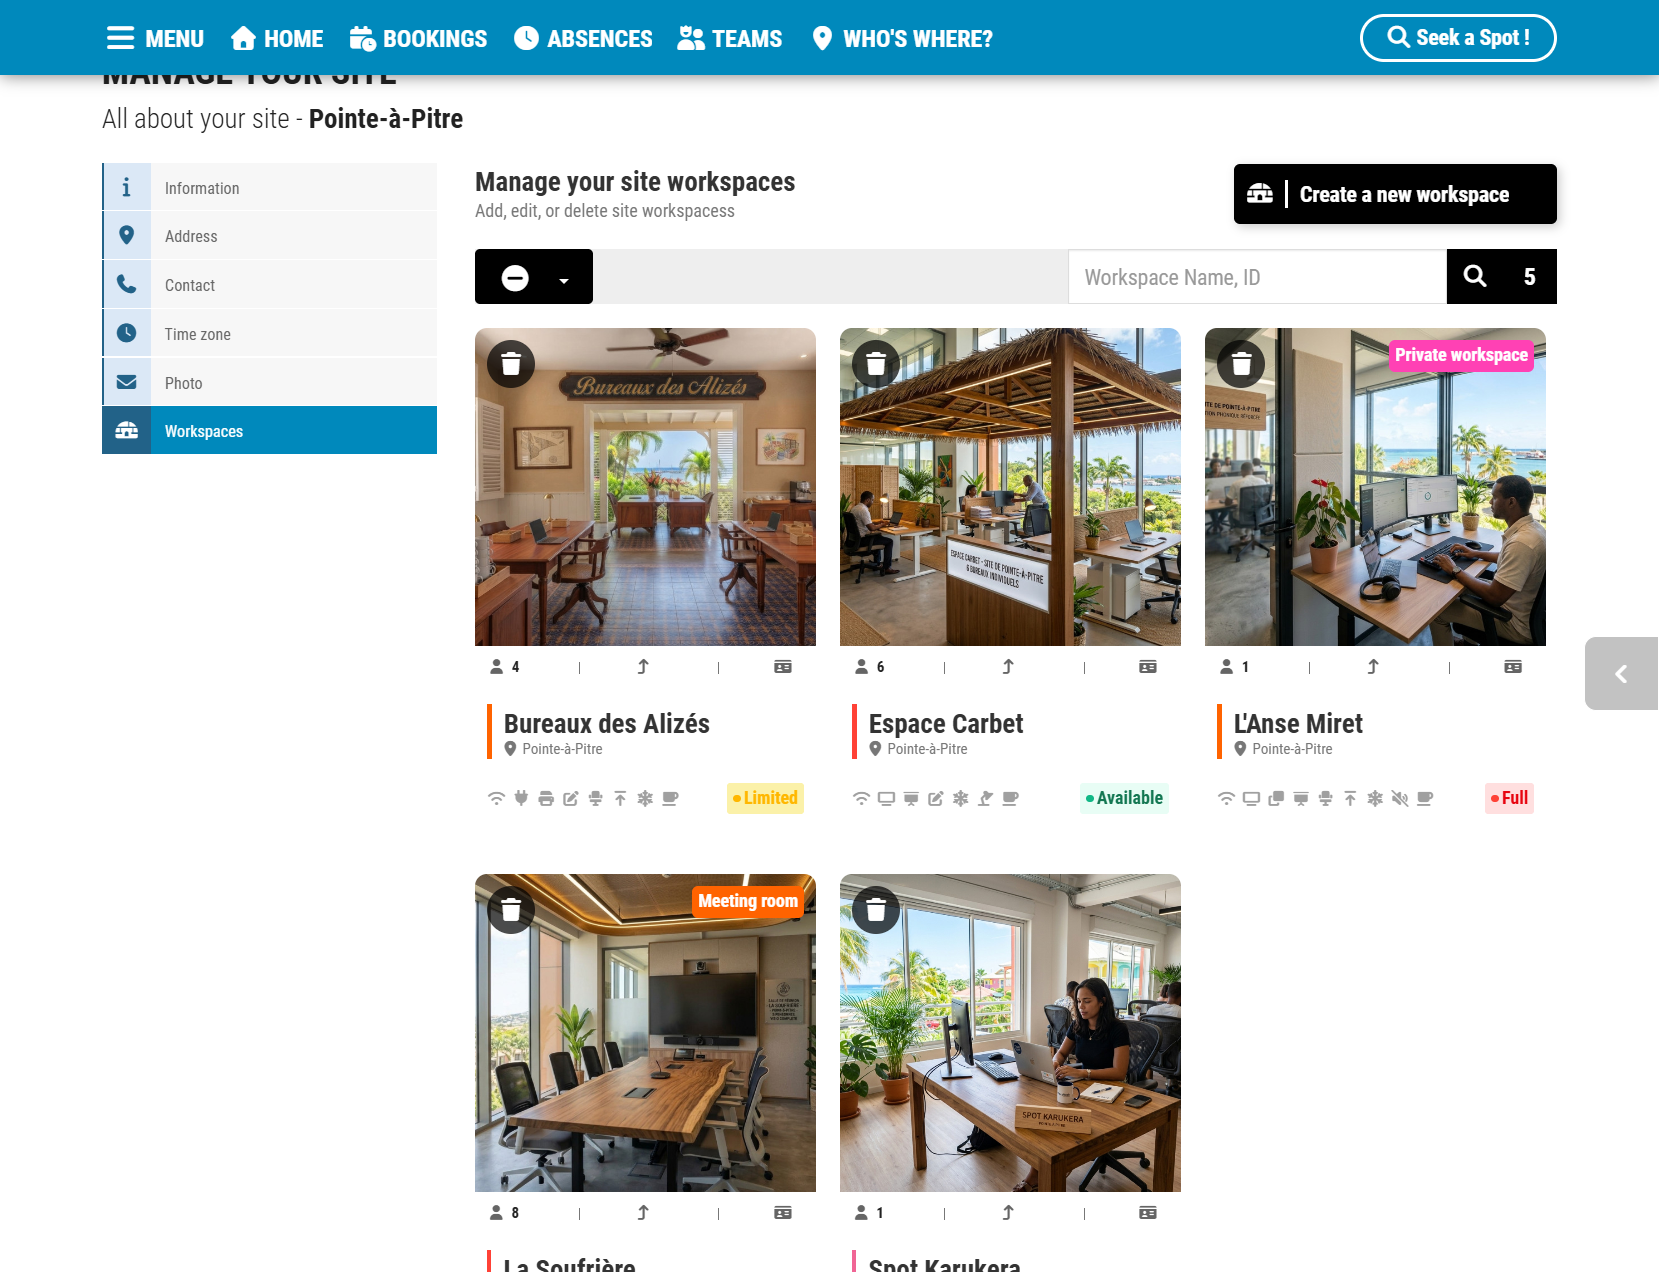
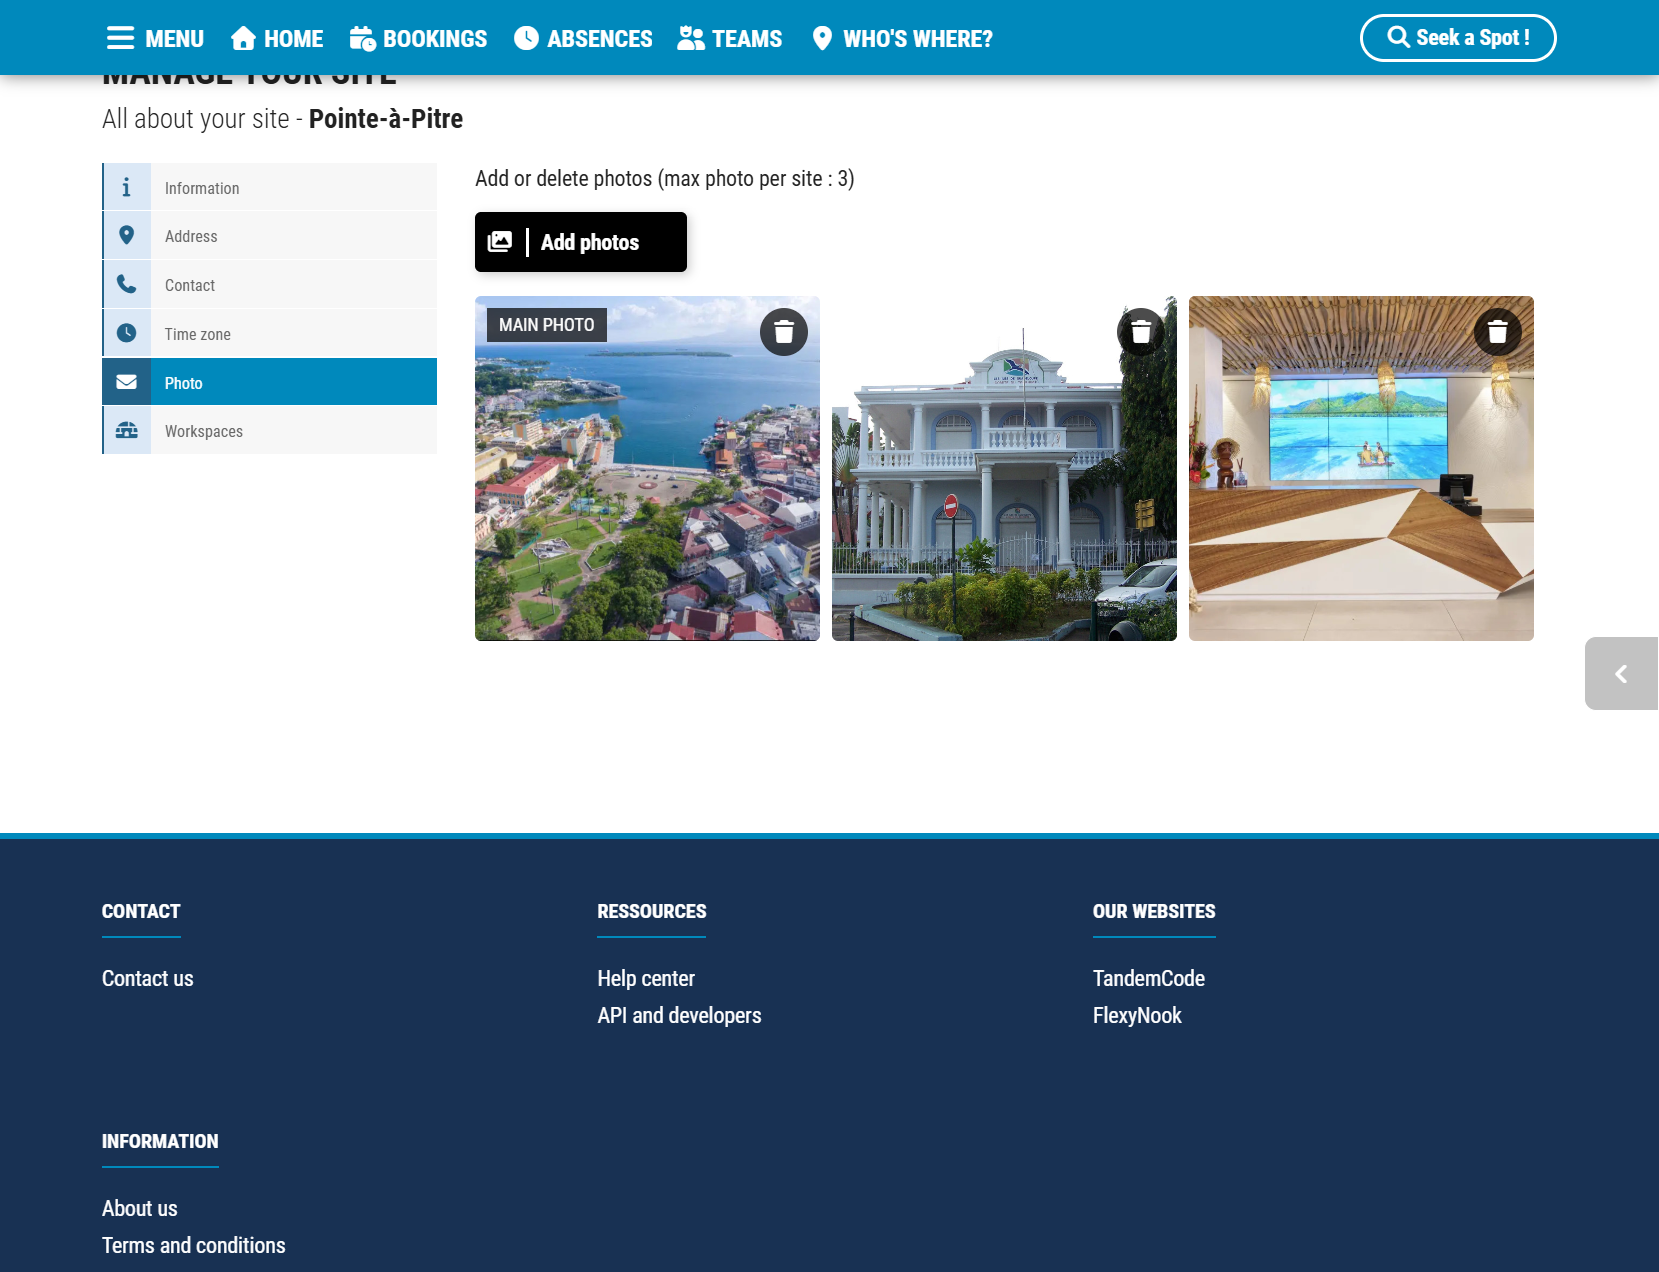
A Site represents the physical location (building, campus, or office) where your workspaces are located. You can create a site by navigating to the administration menu and selecting Sites > Add a site.
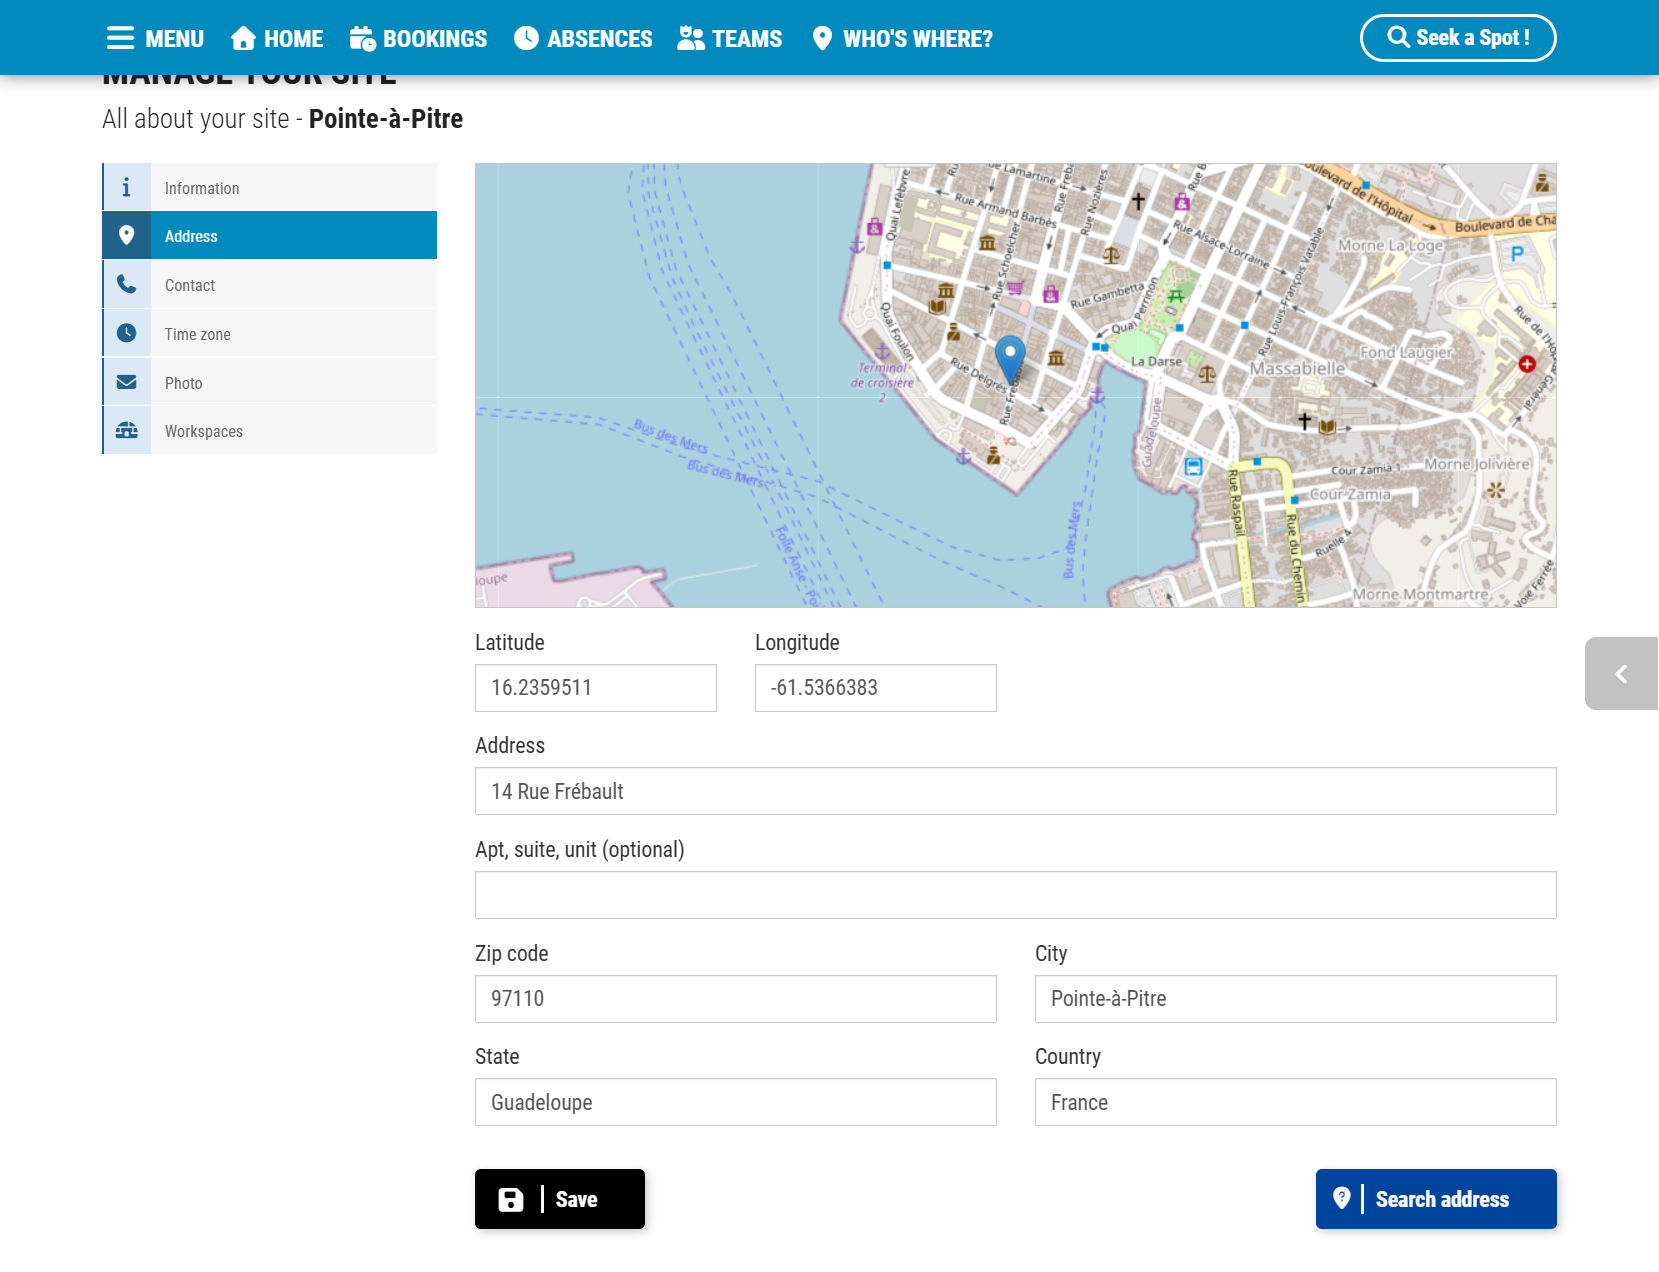
1. Address & Time Zone Validation
- Enter the official address of your building.
- Click “Search Address”: Always validate the location using the Search Address button. This queries OpenStreetMap to auto-fill address details and retrieve the exact time zone.
- Verify the Time Zone: Ensure the detected time zone is accurate. All internal scheduling, booking windows, and availability calculations depend directly on this setting.
2. Contact Information & Additional Details
- Default Contact Details: Site contact information serves as the fallback contact method for all workspaces at this location unless overridden at the workspace level.
- “More About This Site”: Use this section to add specific instructions or guidelines (e.g., access rules, parking tips, reception contact). This information will be displayed across every workspace listing tied to the site.
- Site Photos: Upload up to 3 photos to give users a clear visual representation of the location.
Create and Configure Workspaces
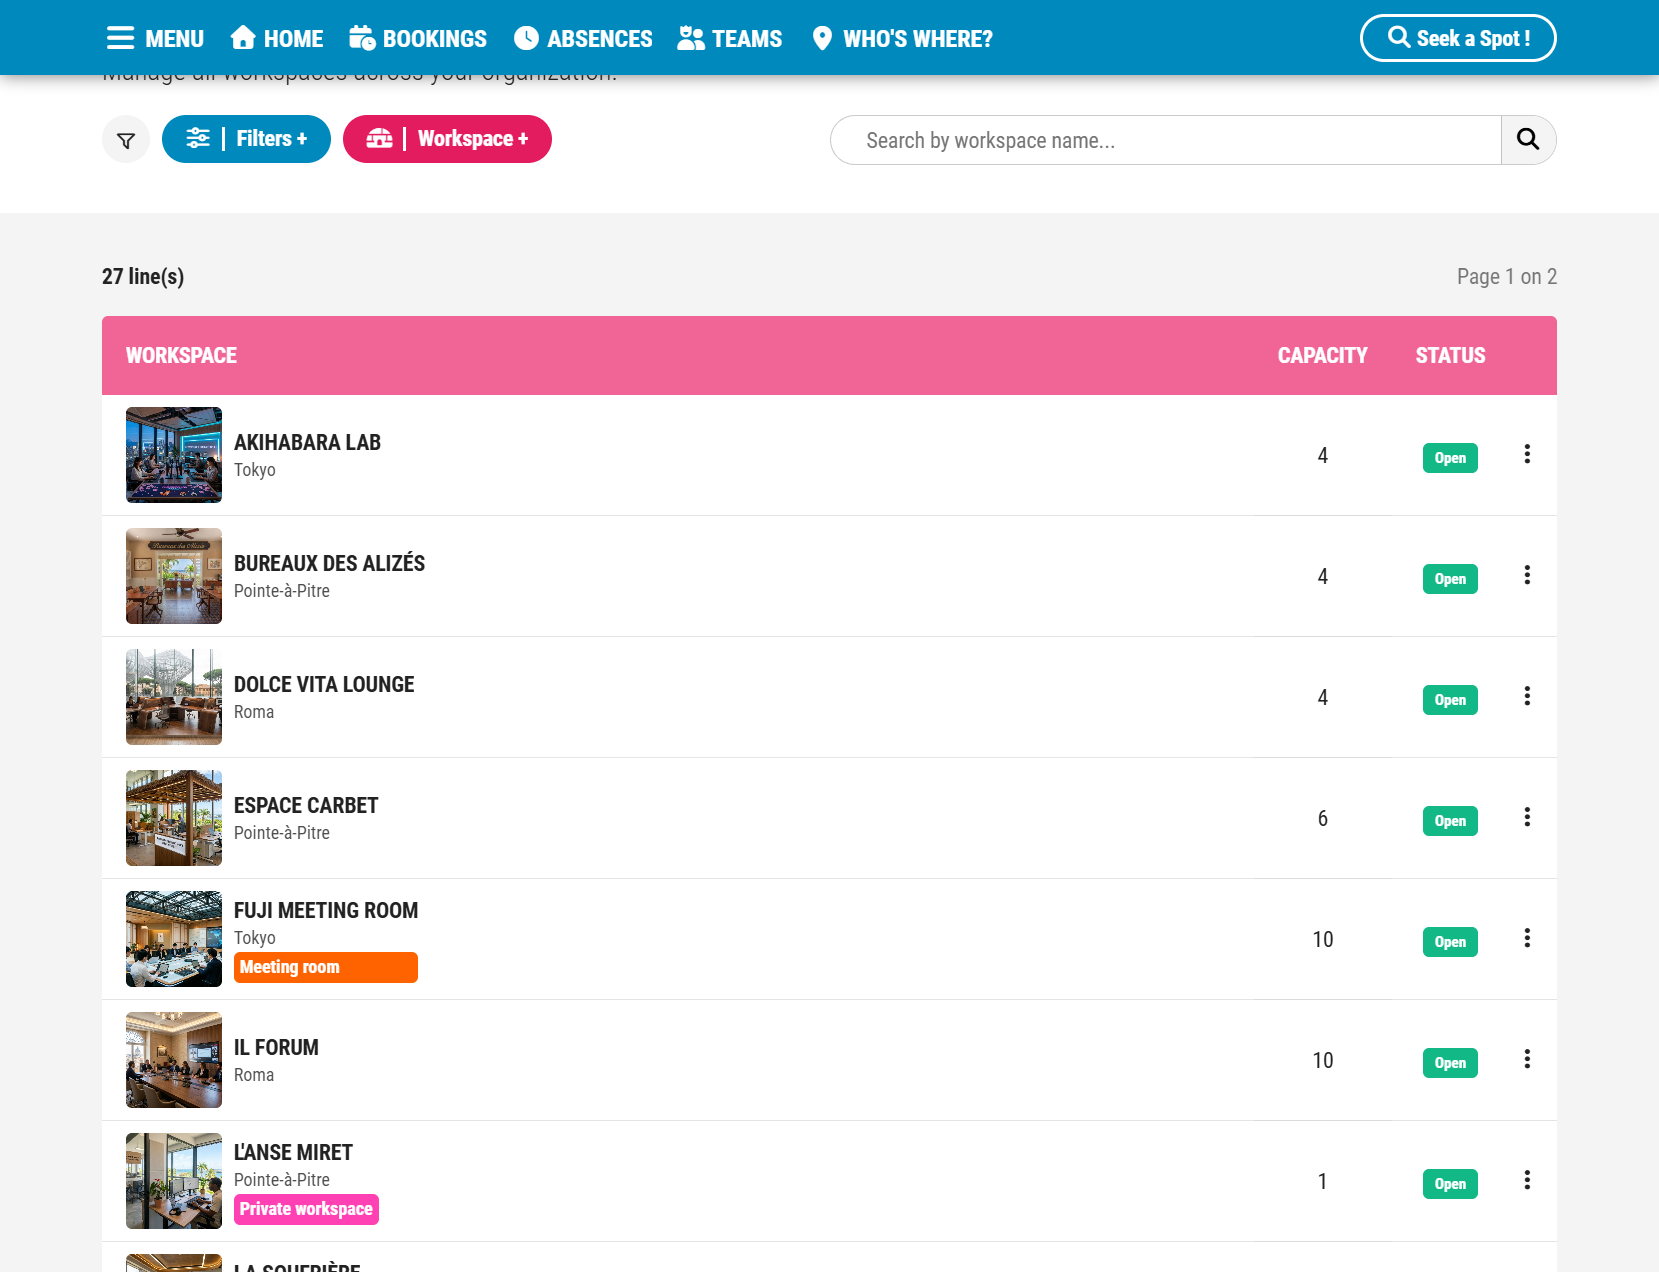
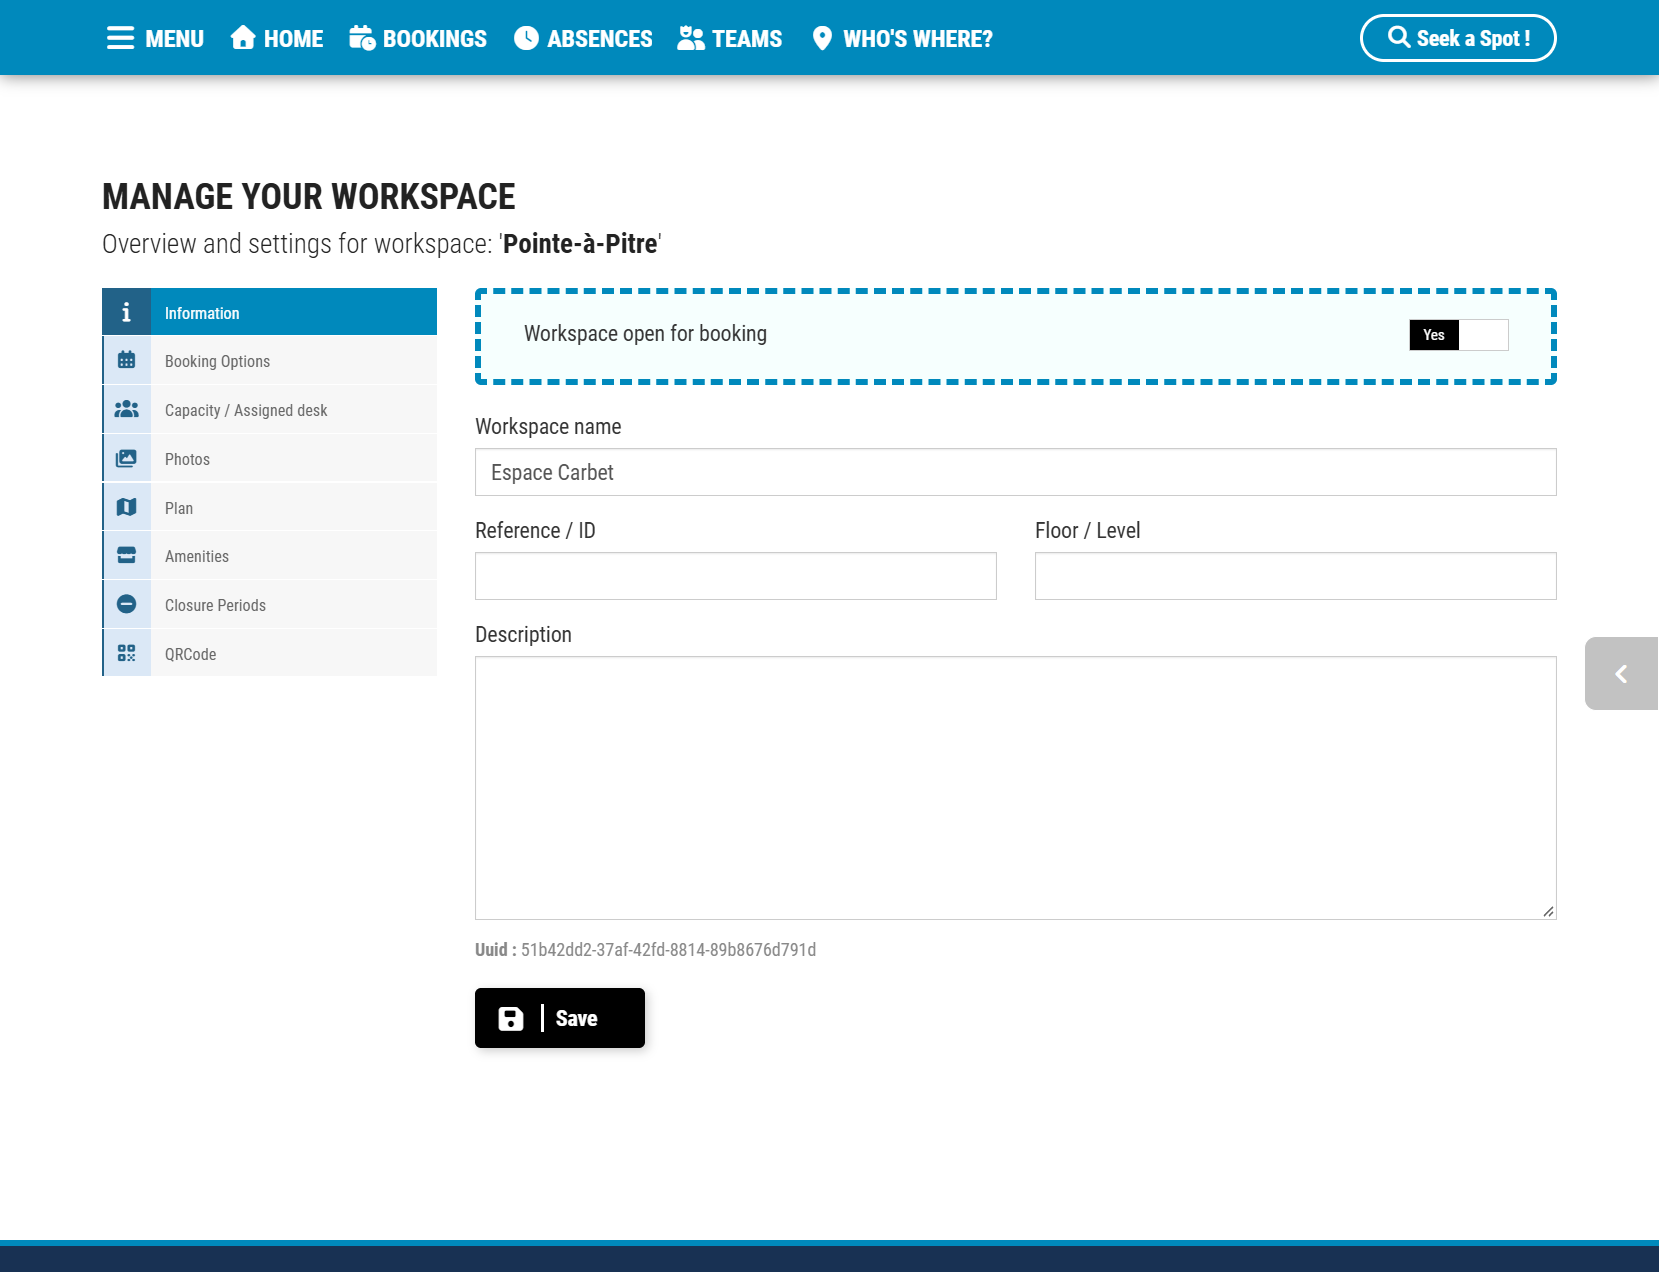
Once your site is established, add the individual workspaces (desks, rooms, or spots) attached to it. You can create workspaces via the Workspaces tab on the Site Details page or under Workspaces in the Administration menu.
1. Select Workspace Type
Desk: Individual desk or workstation.
Meeting Room: Collaborative space. Note: Unlike desks, meeting rooms can only be booked in their entirety by a single user, regardless of seat capacity.
Parking: Vehicle or charging spots.
2. Configure Key Workspace Settings & Options
Customize each workspace using the management sidebar options:
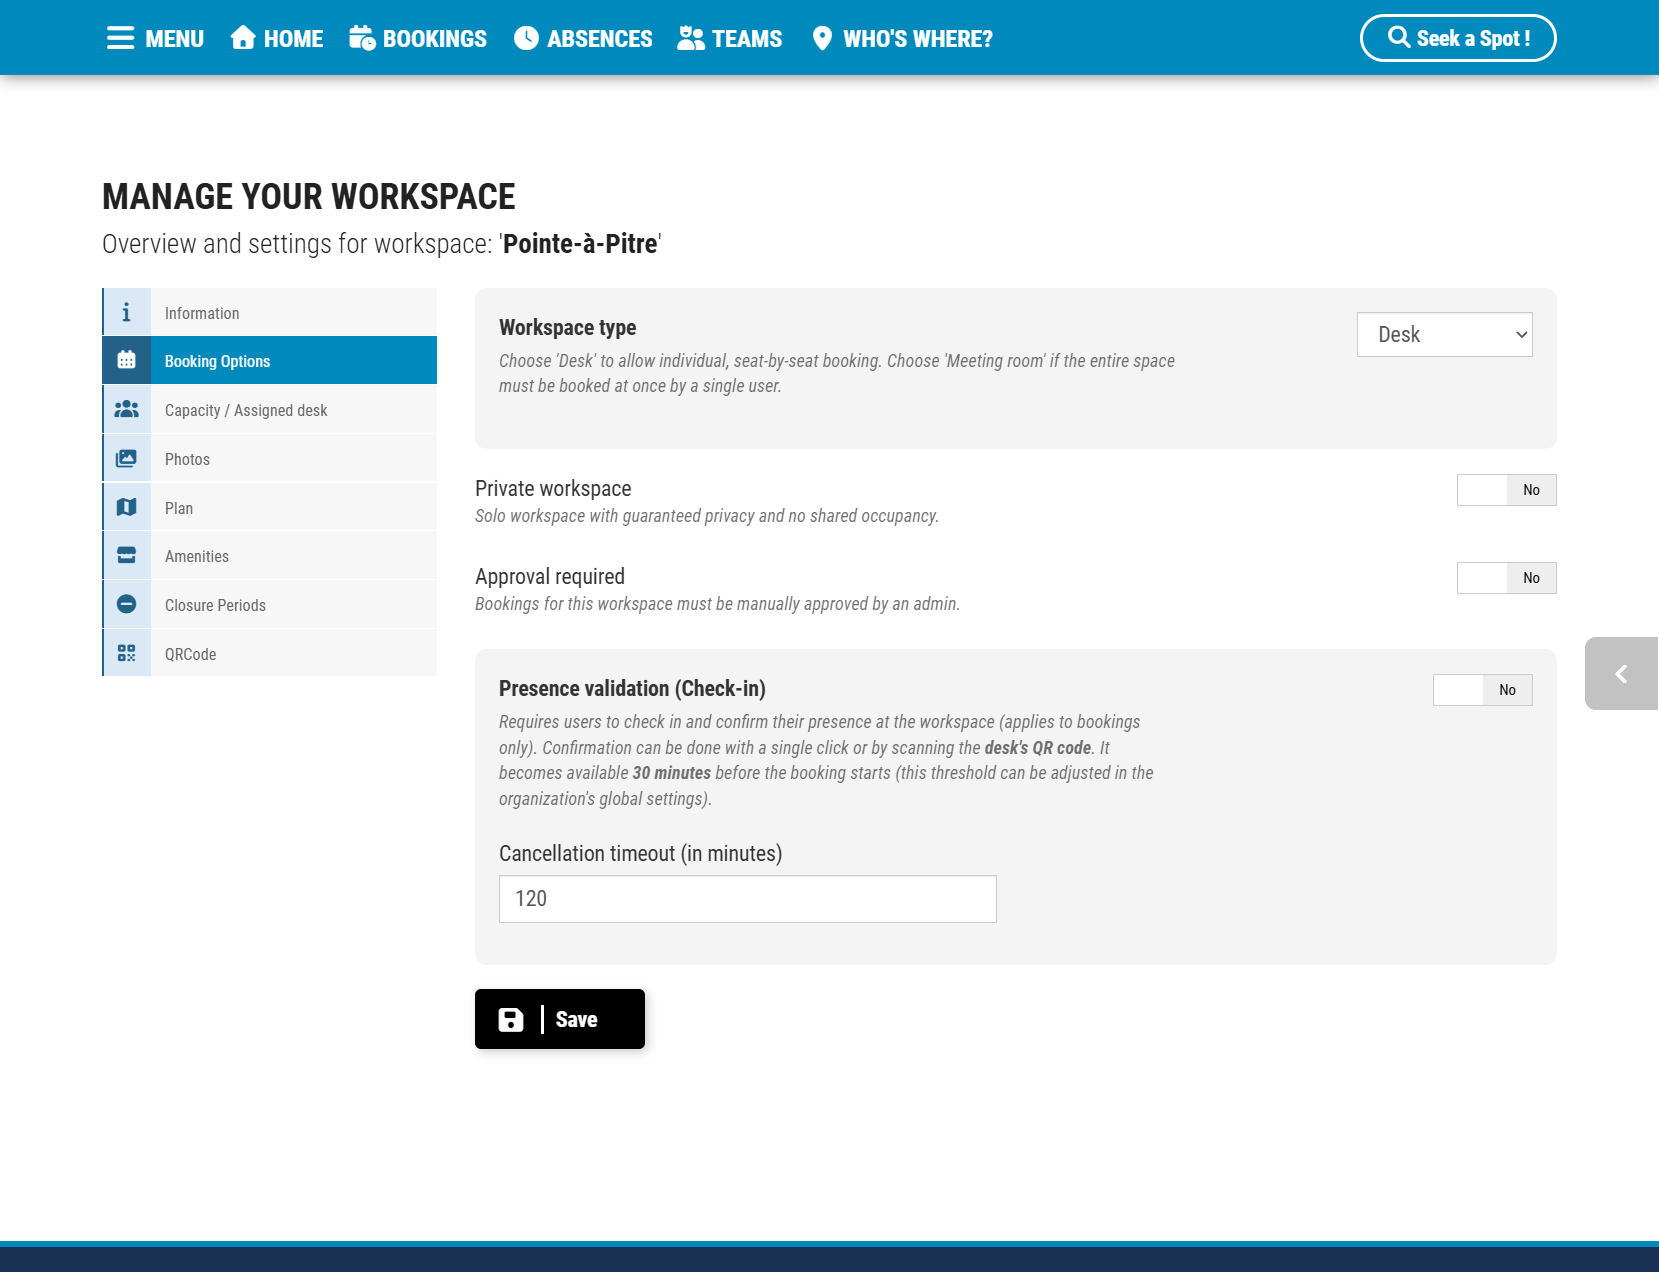
Booking Options:
– Private Workspace: Set to Yes for solo workspaces with guaranteed privacy and no shared occupancy.
– Approval Required: Enable manual manager or admin approval before a booking is confirmed.
– Presence Validation (Check-in): Require users to check in upon arrival. Check-in opens 30 minutes before the booking starts (adjustable in global settings).
– Cancellation Timeout: Define the grace period (in minutes) after which an unconfirmed booking is automatically canceled.
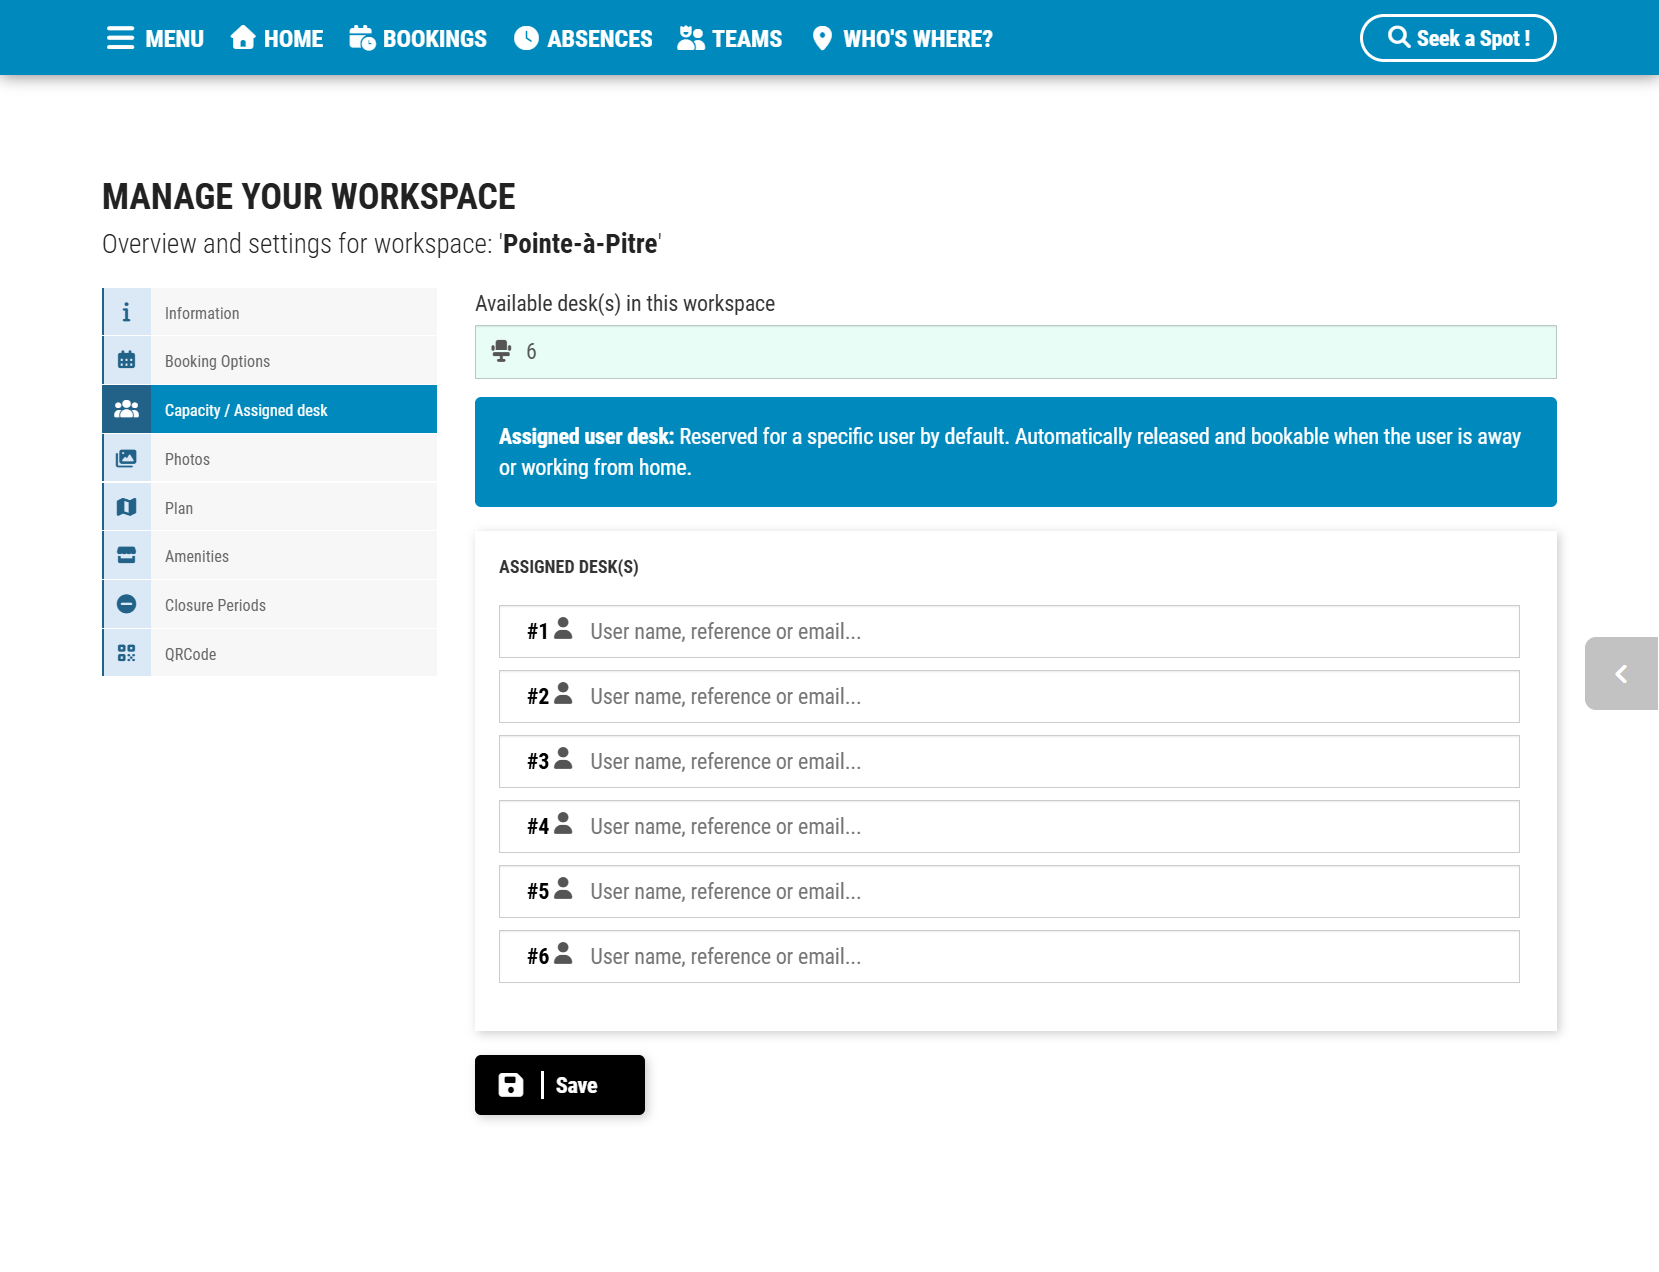
Capacity & Assigned Desks: View available desks or assign dedicated desks to specific users. Assigned desks are automatically released and made bookable whenever the assigned user is away or working from home.
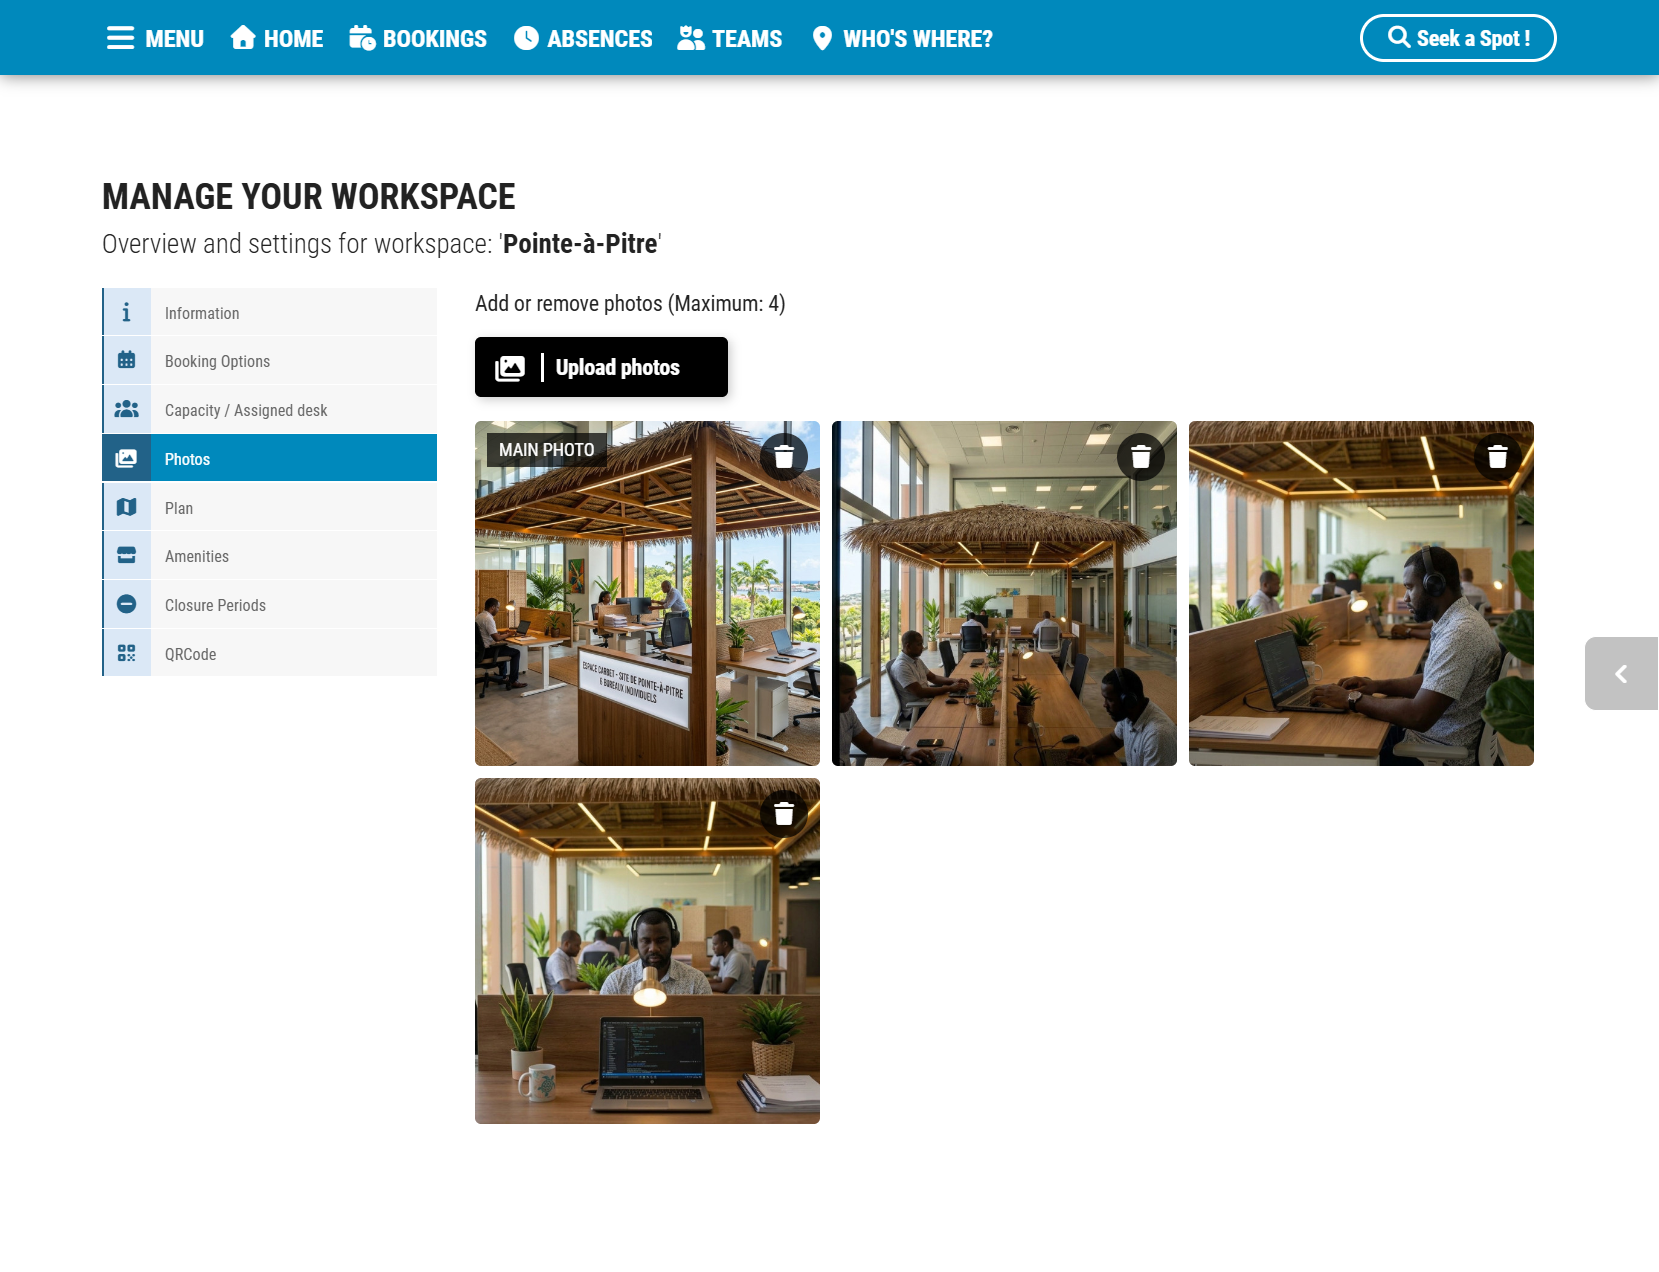
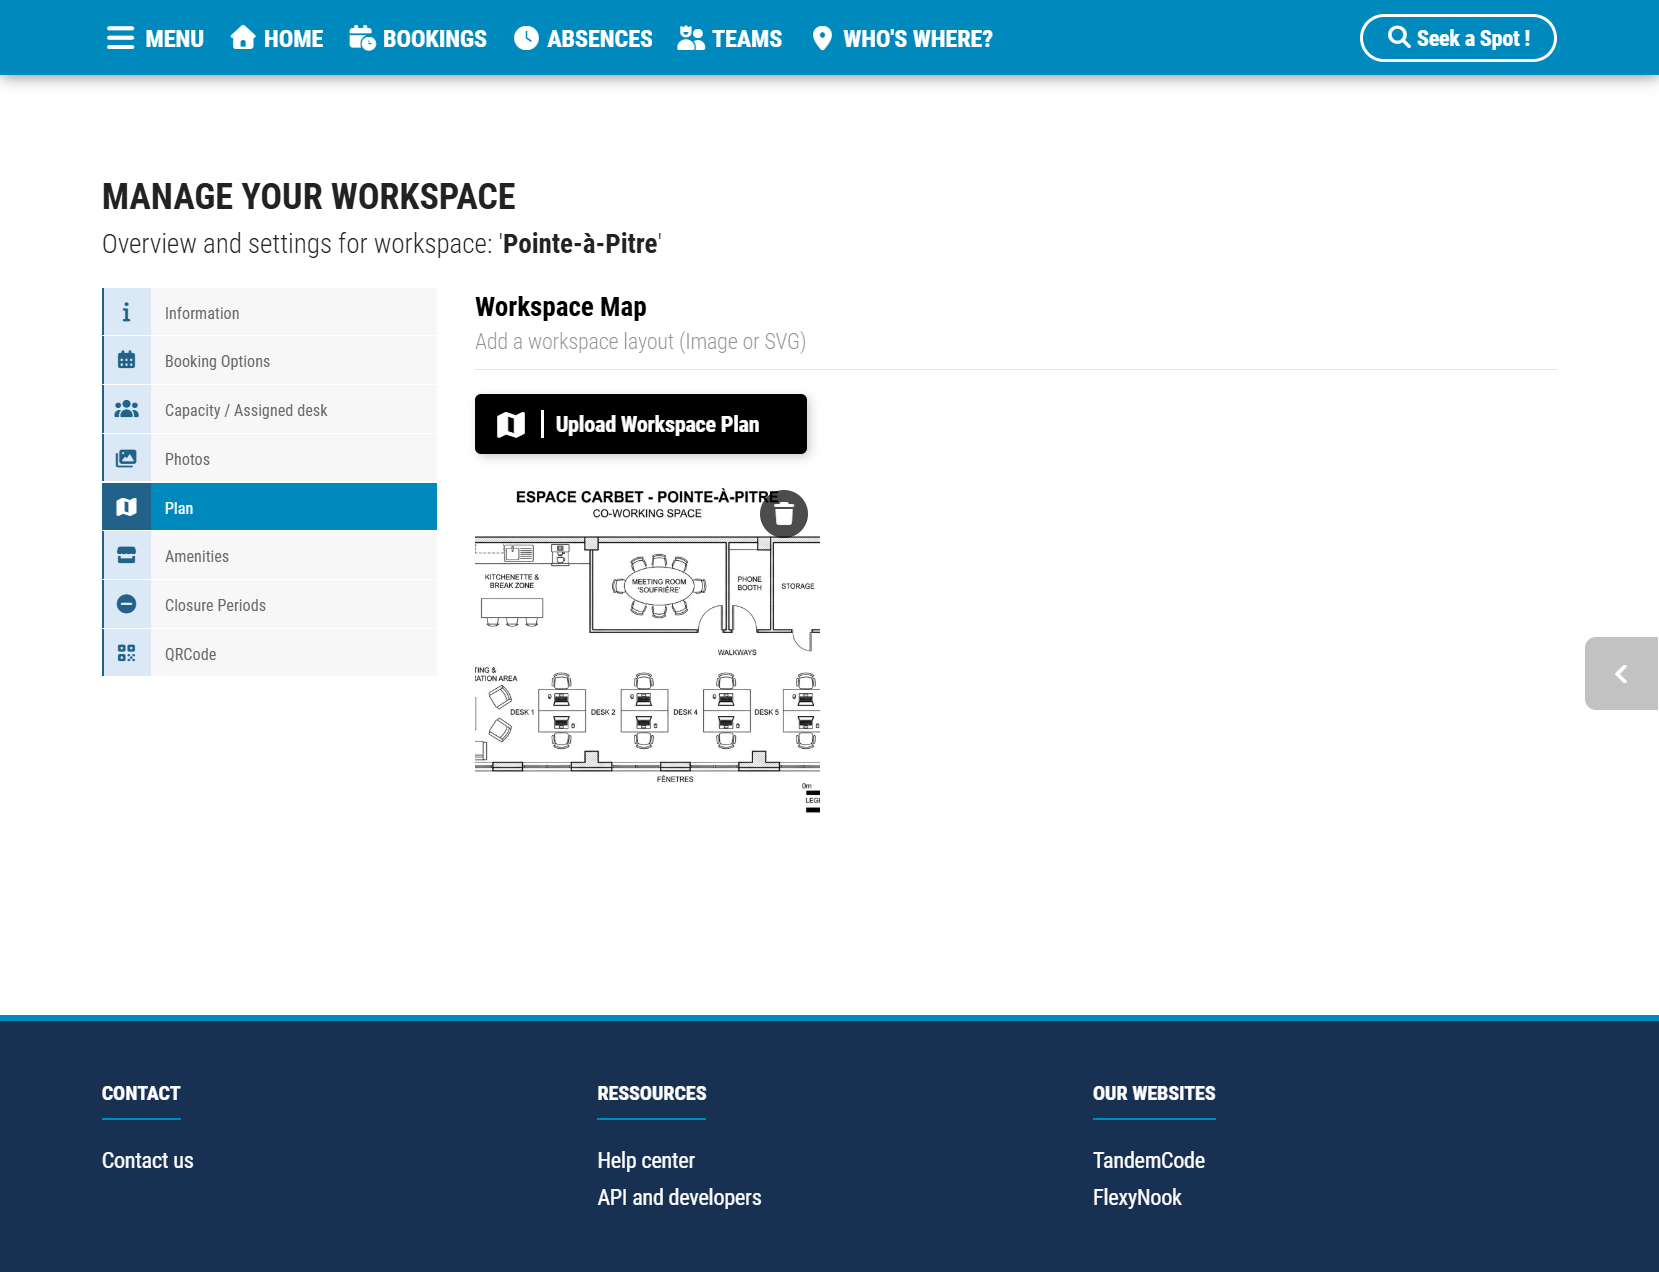
Photos & Floor Plans: Upload up to 4 photos and attach an interactive or static floor plan (Image or SVG) to help users locate the space easily.
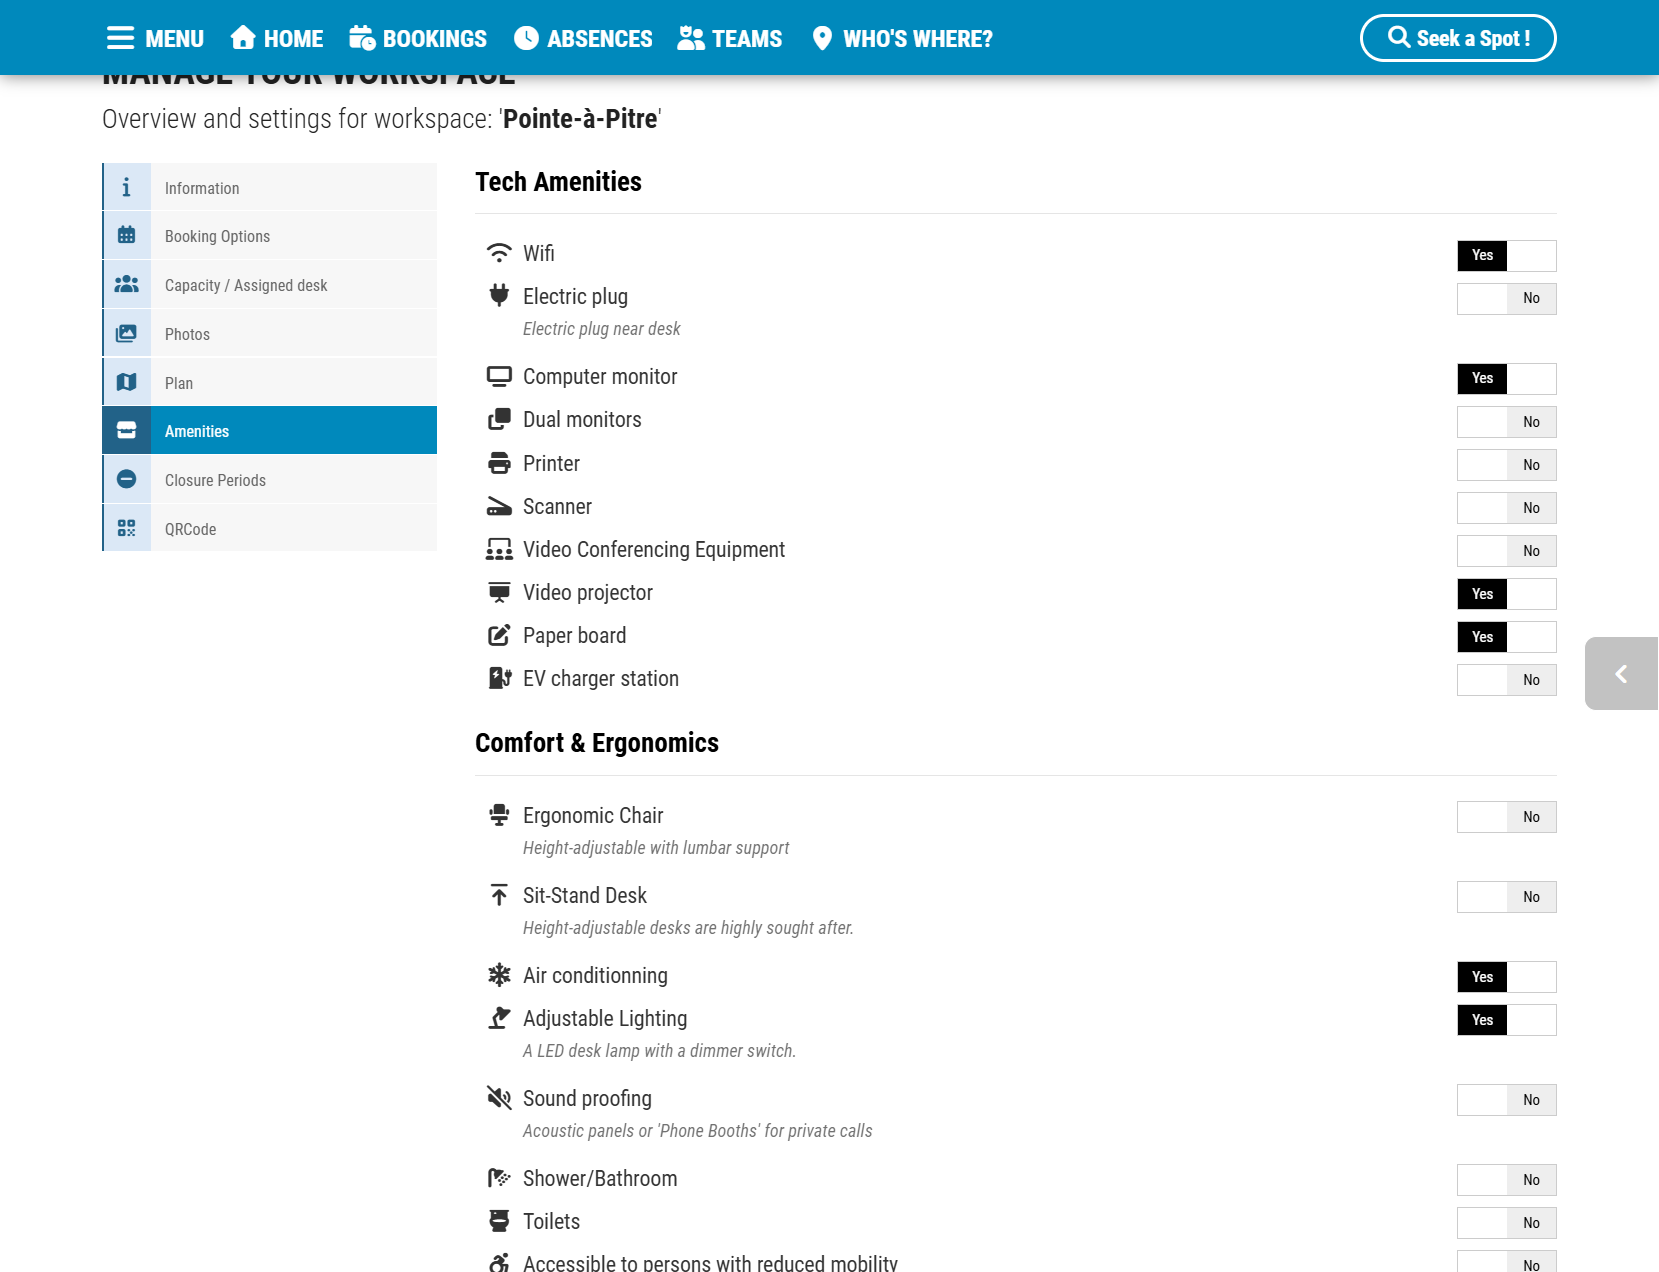
Tech & Ergonomic Amenities: Toggle available features such as Wi-Fi, monitors, sit-stand desks, video conferencing, or EV charging stations.
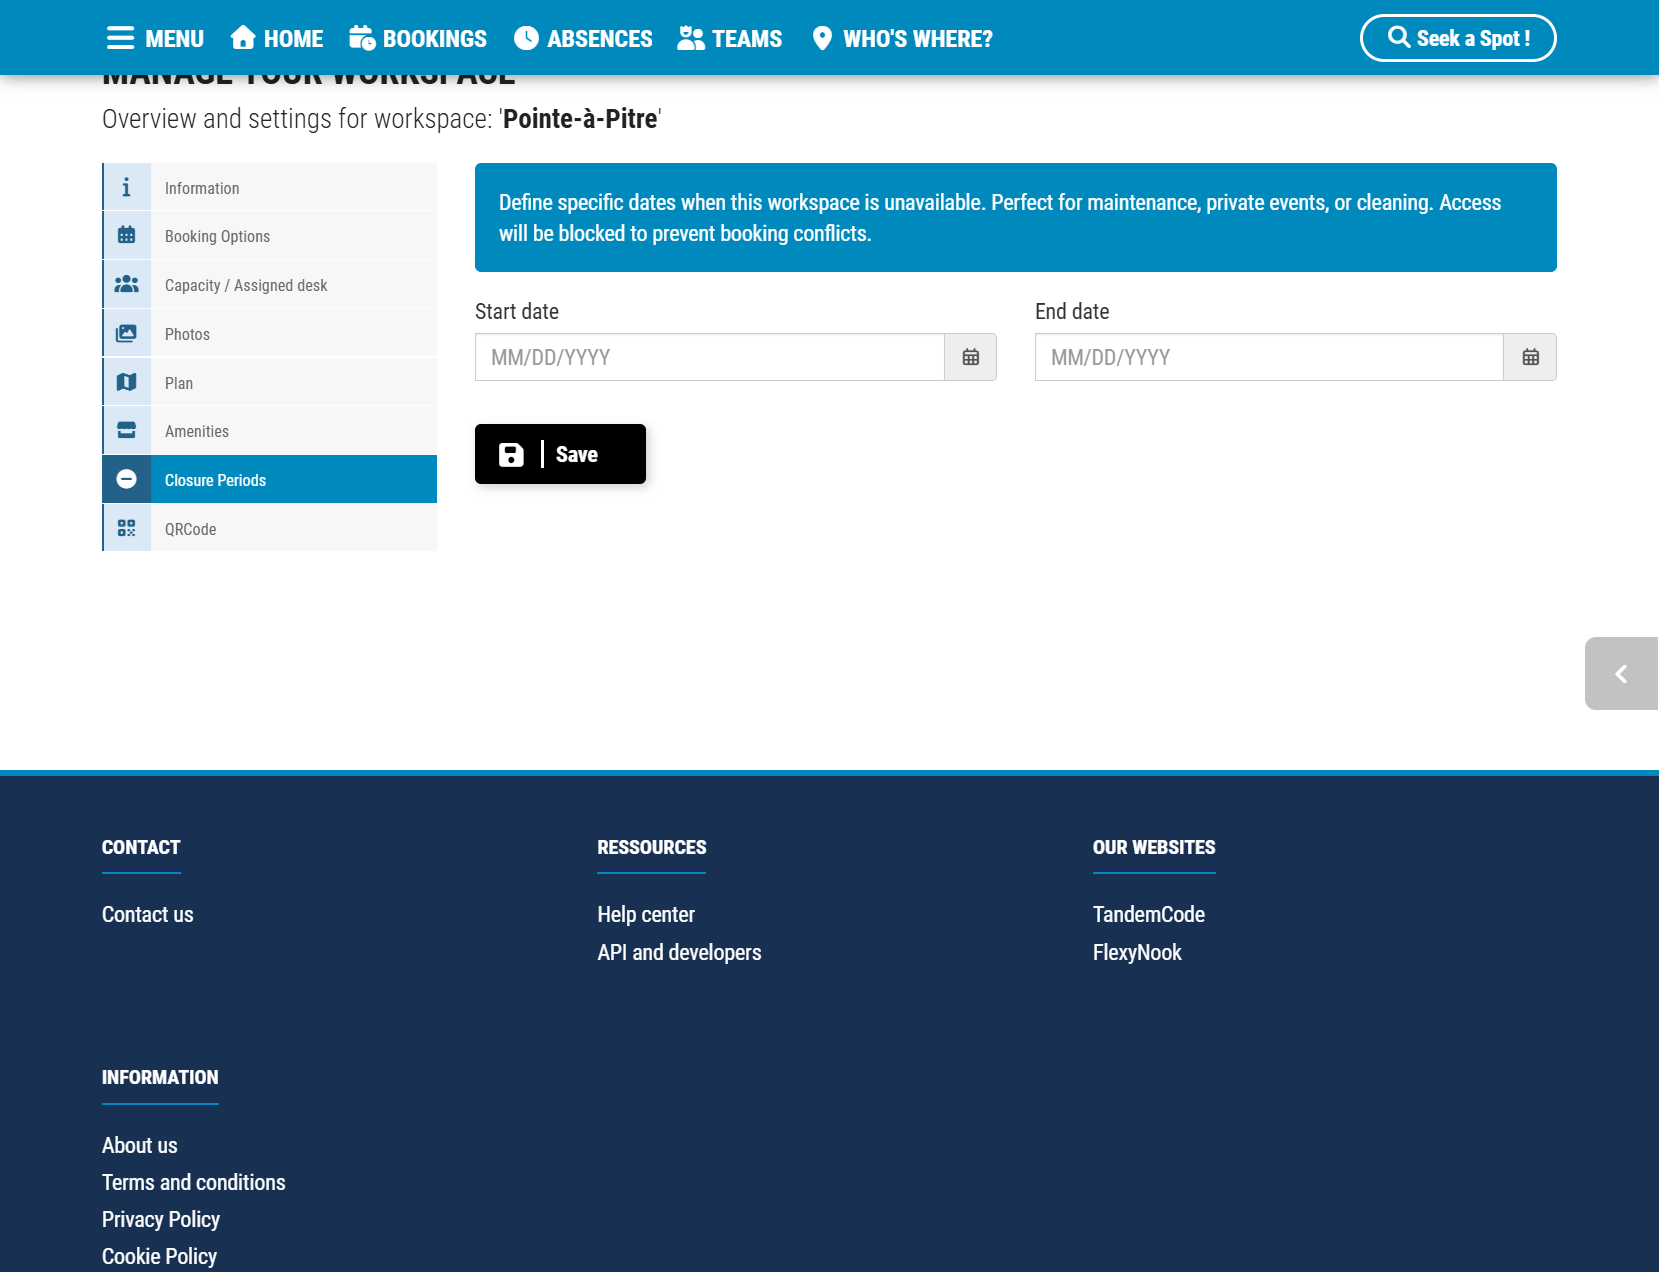
Closure Periods: Define specific date ranges when the workspace is unavailable (maintenance, cleaning, private events) to block booking conflicts.
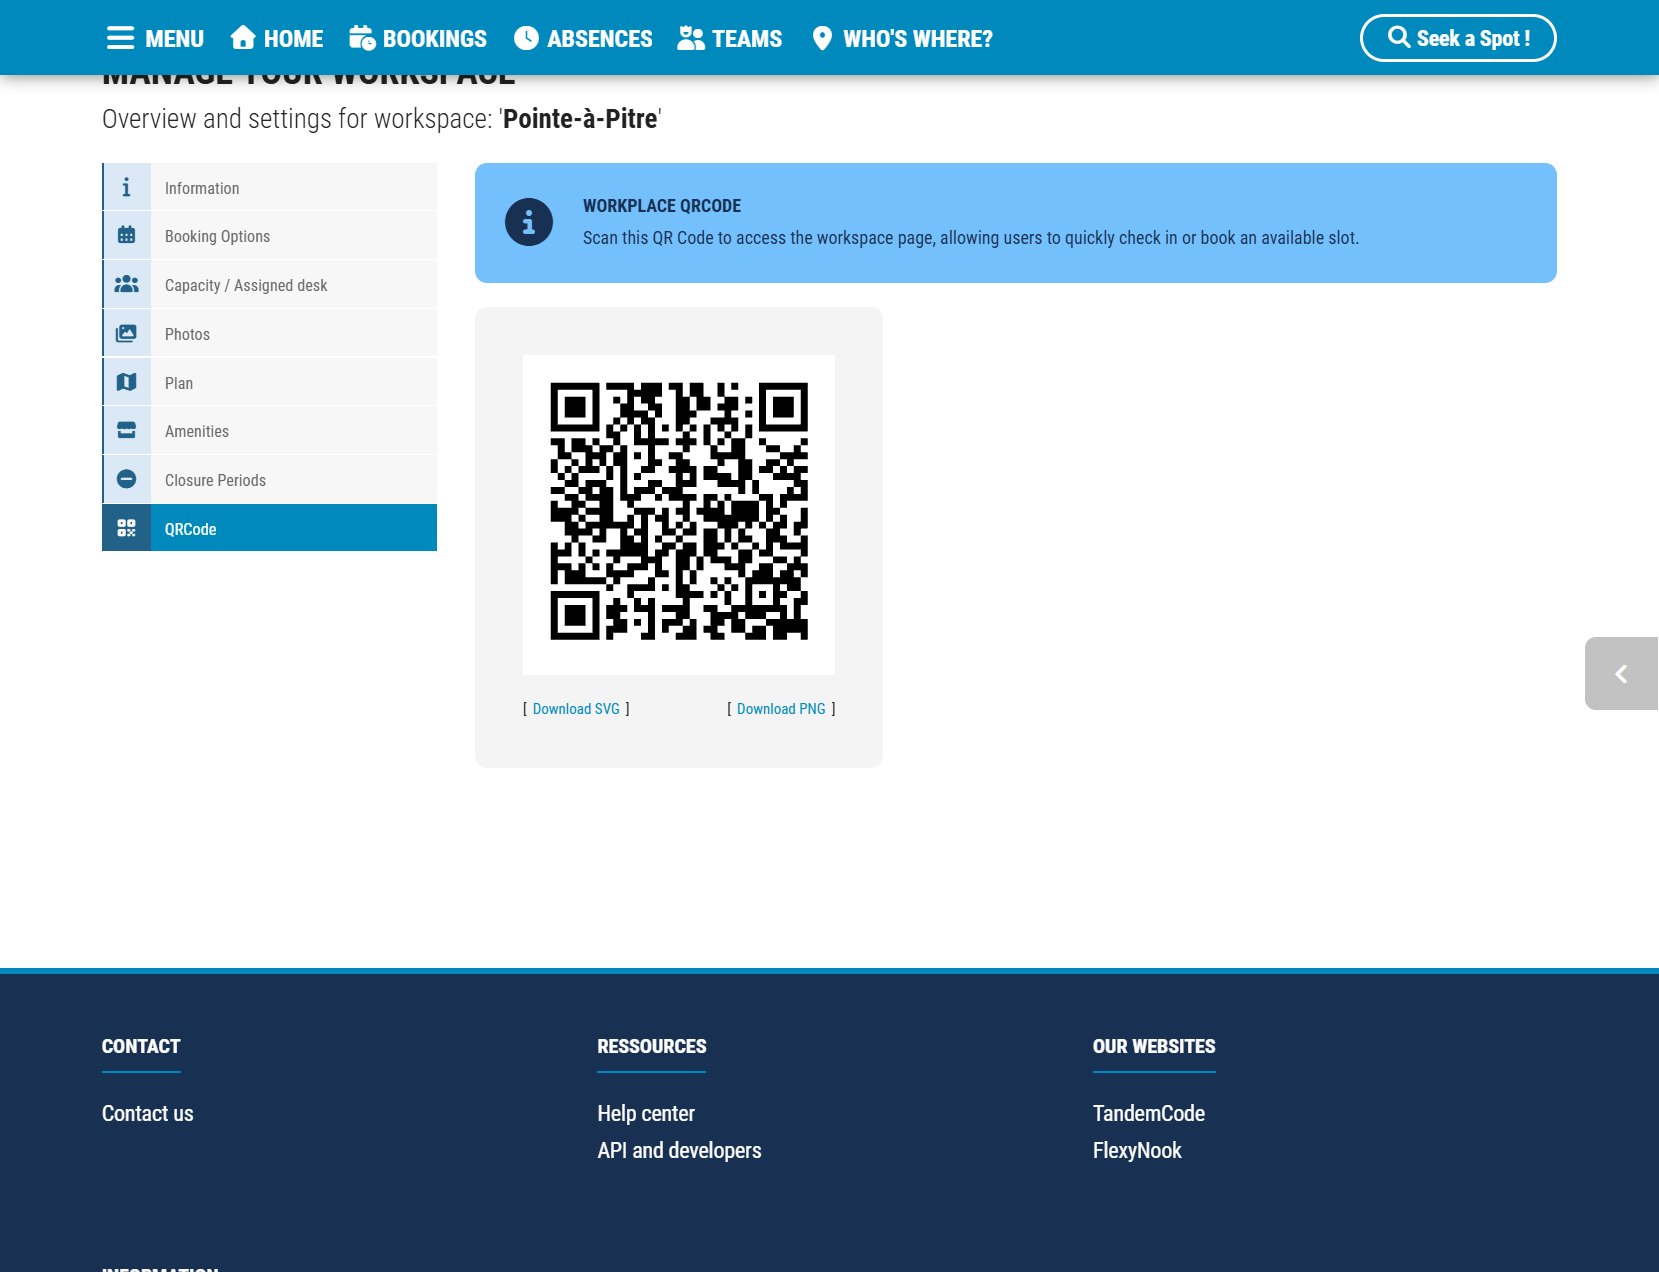
Workspace QR Code: Download workplace QR codes in PNG or SVG format for quick on-site scanning, booking, and check-in.
Next Steps: User Onboarding & Synchronization
After setting up your sites and workspaces, the final step is adding your team.
👉 Learn how to invite and synchronize in FlexyNook (Read our dedicated article on manual invitations, Excel imports, and directory synchronization).
Have a question about this guide or FlexyNook?
Need help configuring your spaces or want to clarify a feature? Our team is here to help you get started.