Managing User Access and Roles in FlexyNook
Managing your team’s access efficiently is essential for a smooth flex-office experience. In FlexyNook, user management is designed to be simple yet powerful, giving administrators full control over permissions, onboarding, and multi-organization setups.
Whether you are inviting a few colleagues or onboarding hundreds of employees across multiple entities, here is everything you need to know about managing users in FlexyNook.
Four Ways to Add and Manage Users
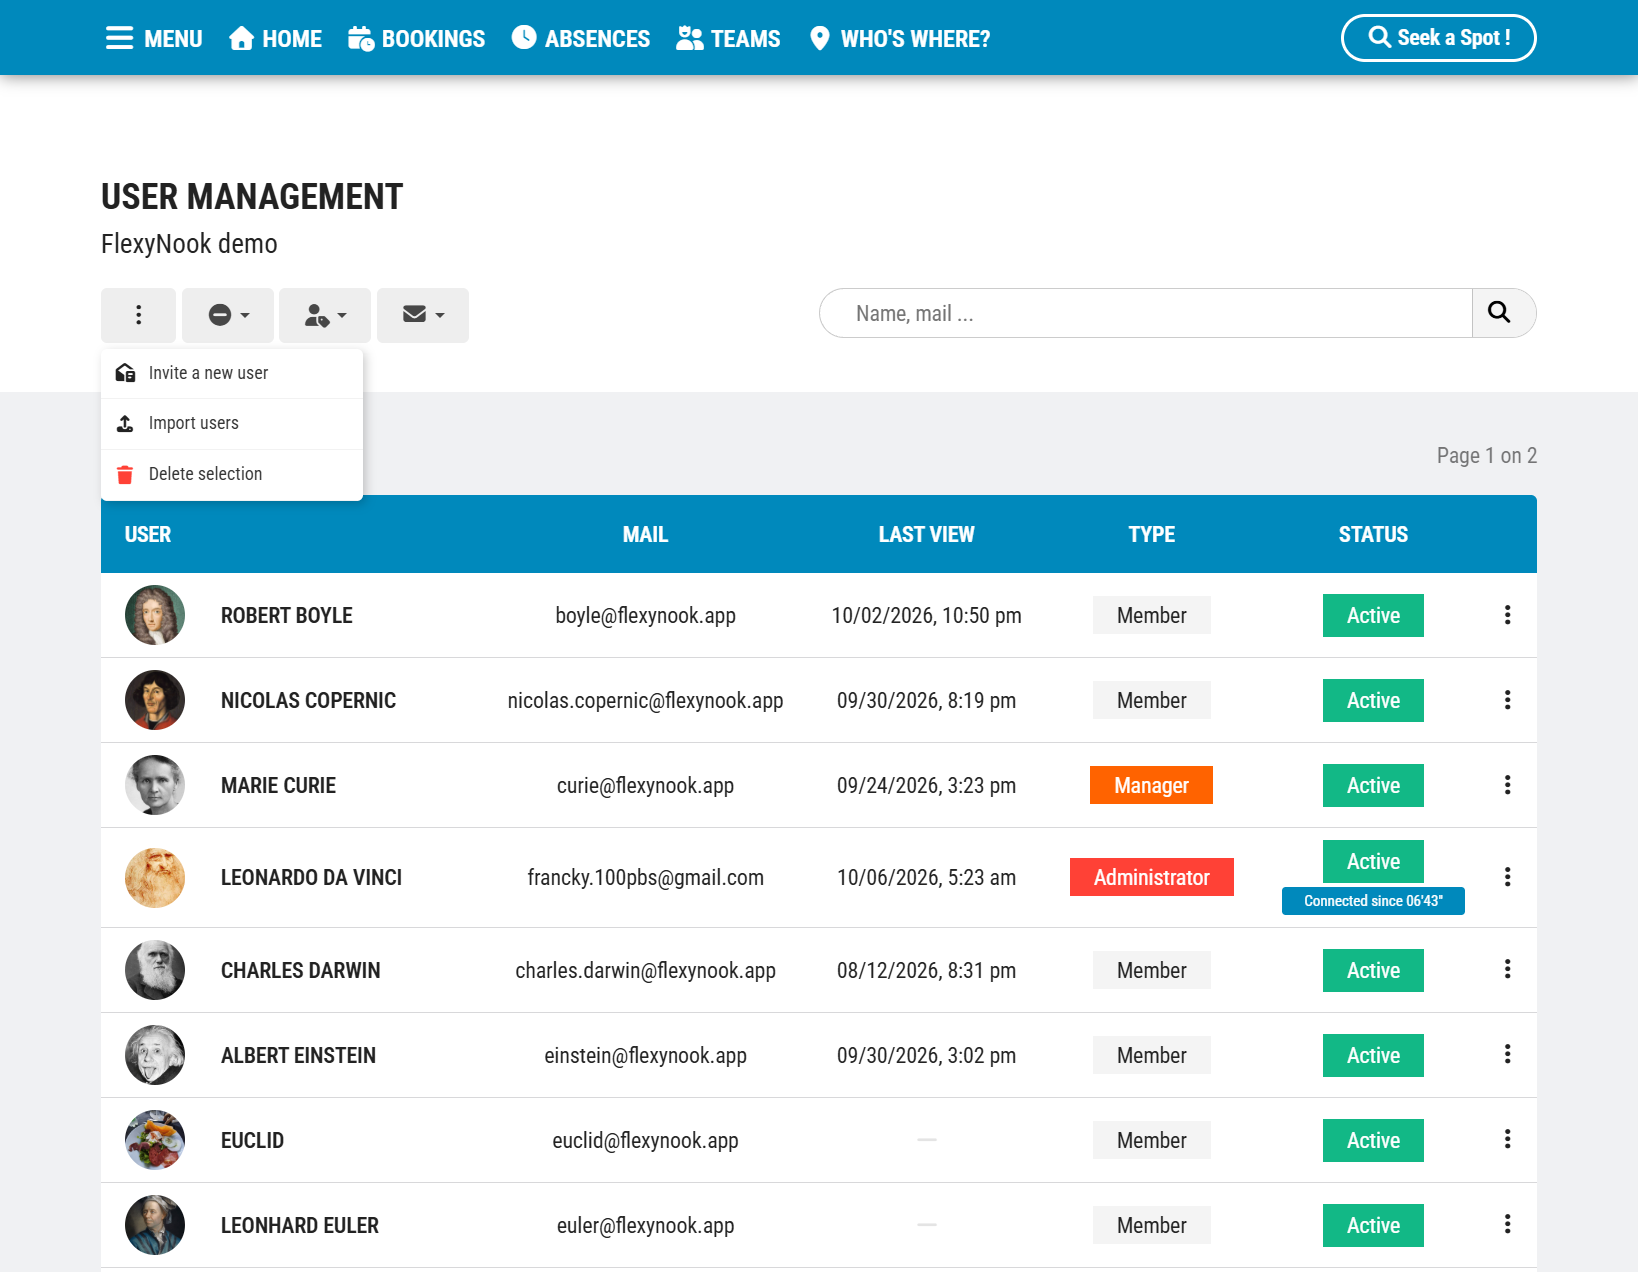
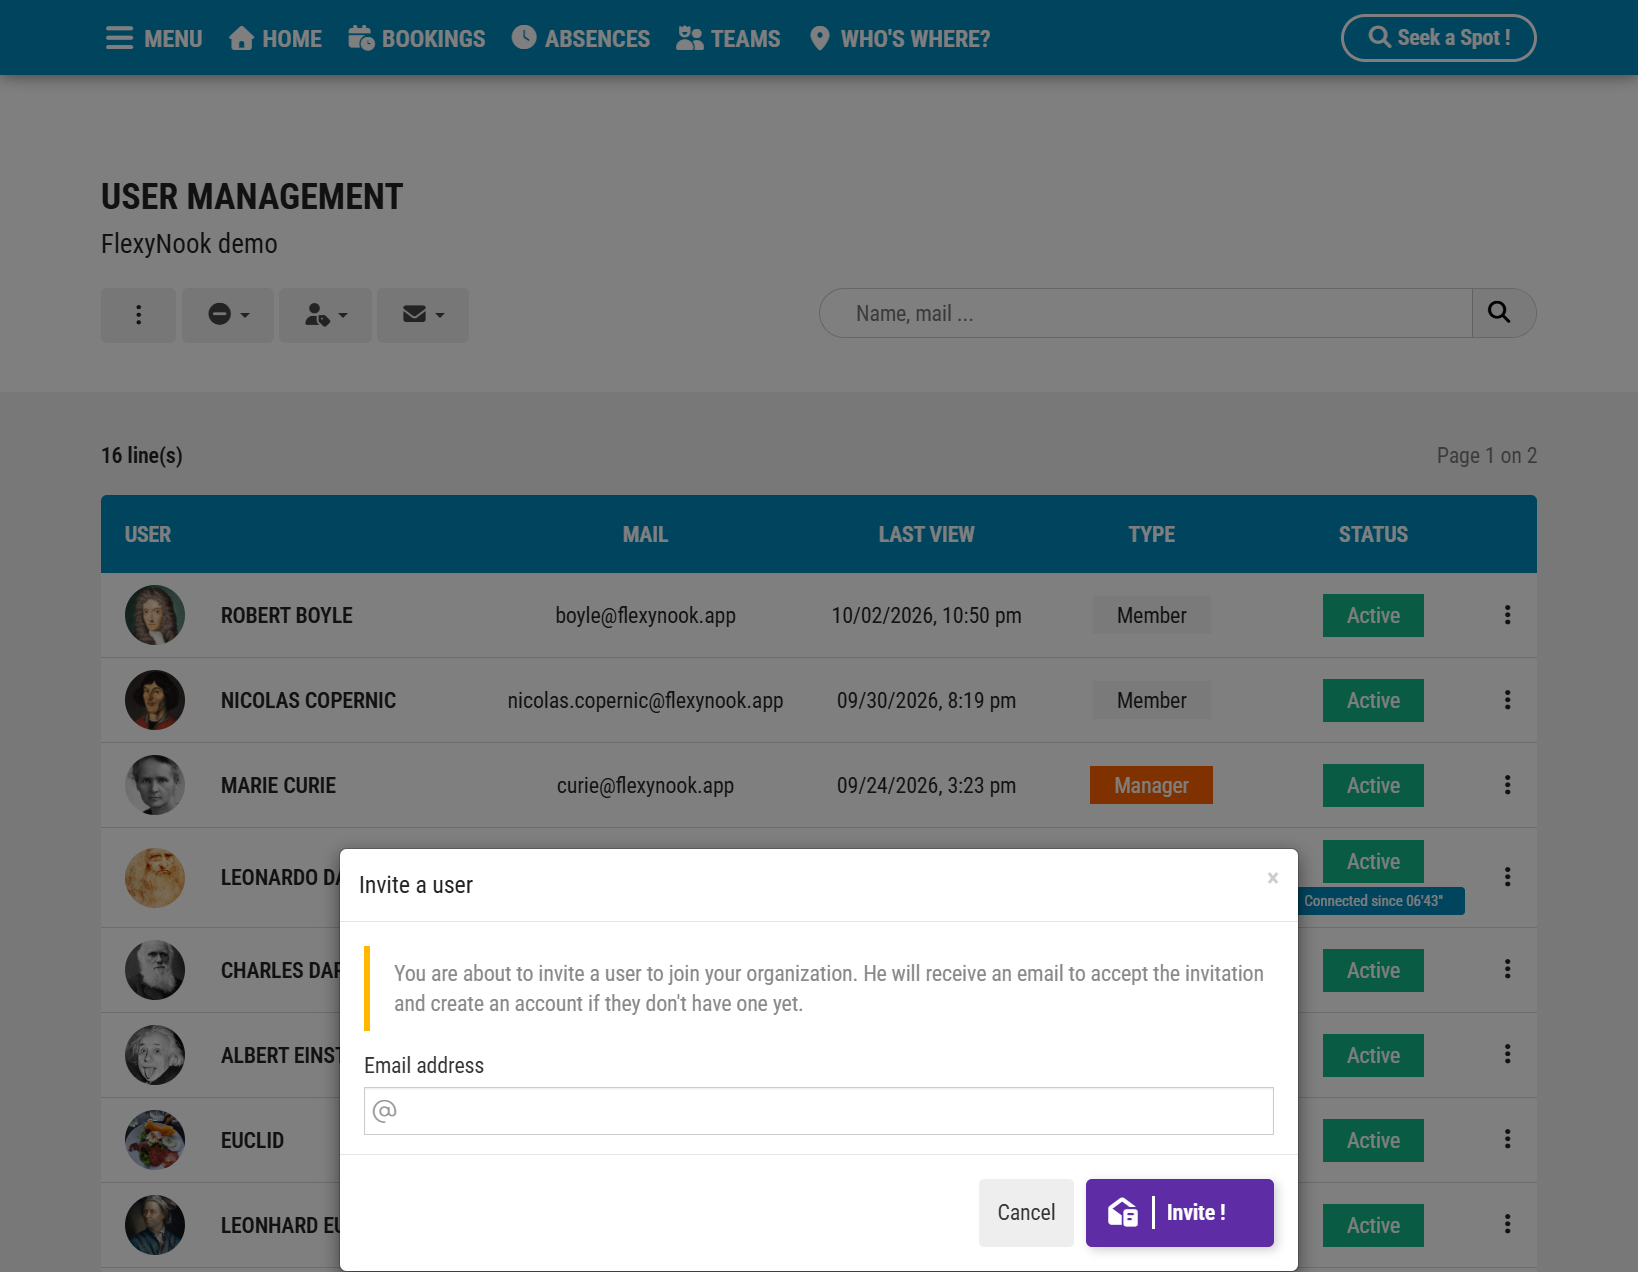
From the administration menu -> “Users”, you can invite, import, or synchronize users using four distinct methods depending on your company’s technical environment:
— Direct Email Invitations: Ideal for quick onboarding or small teams.
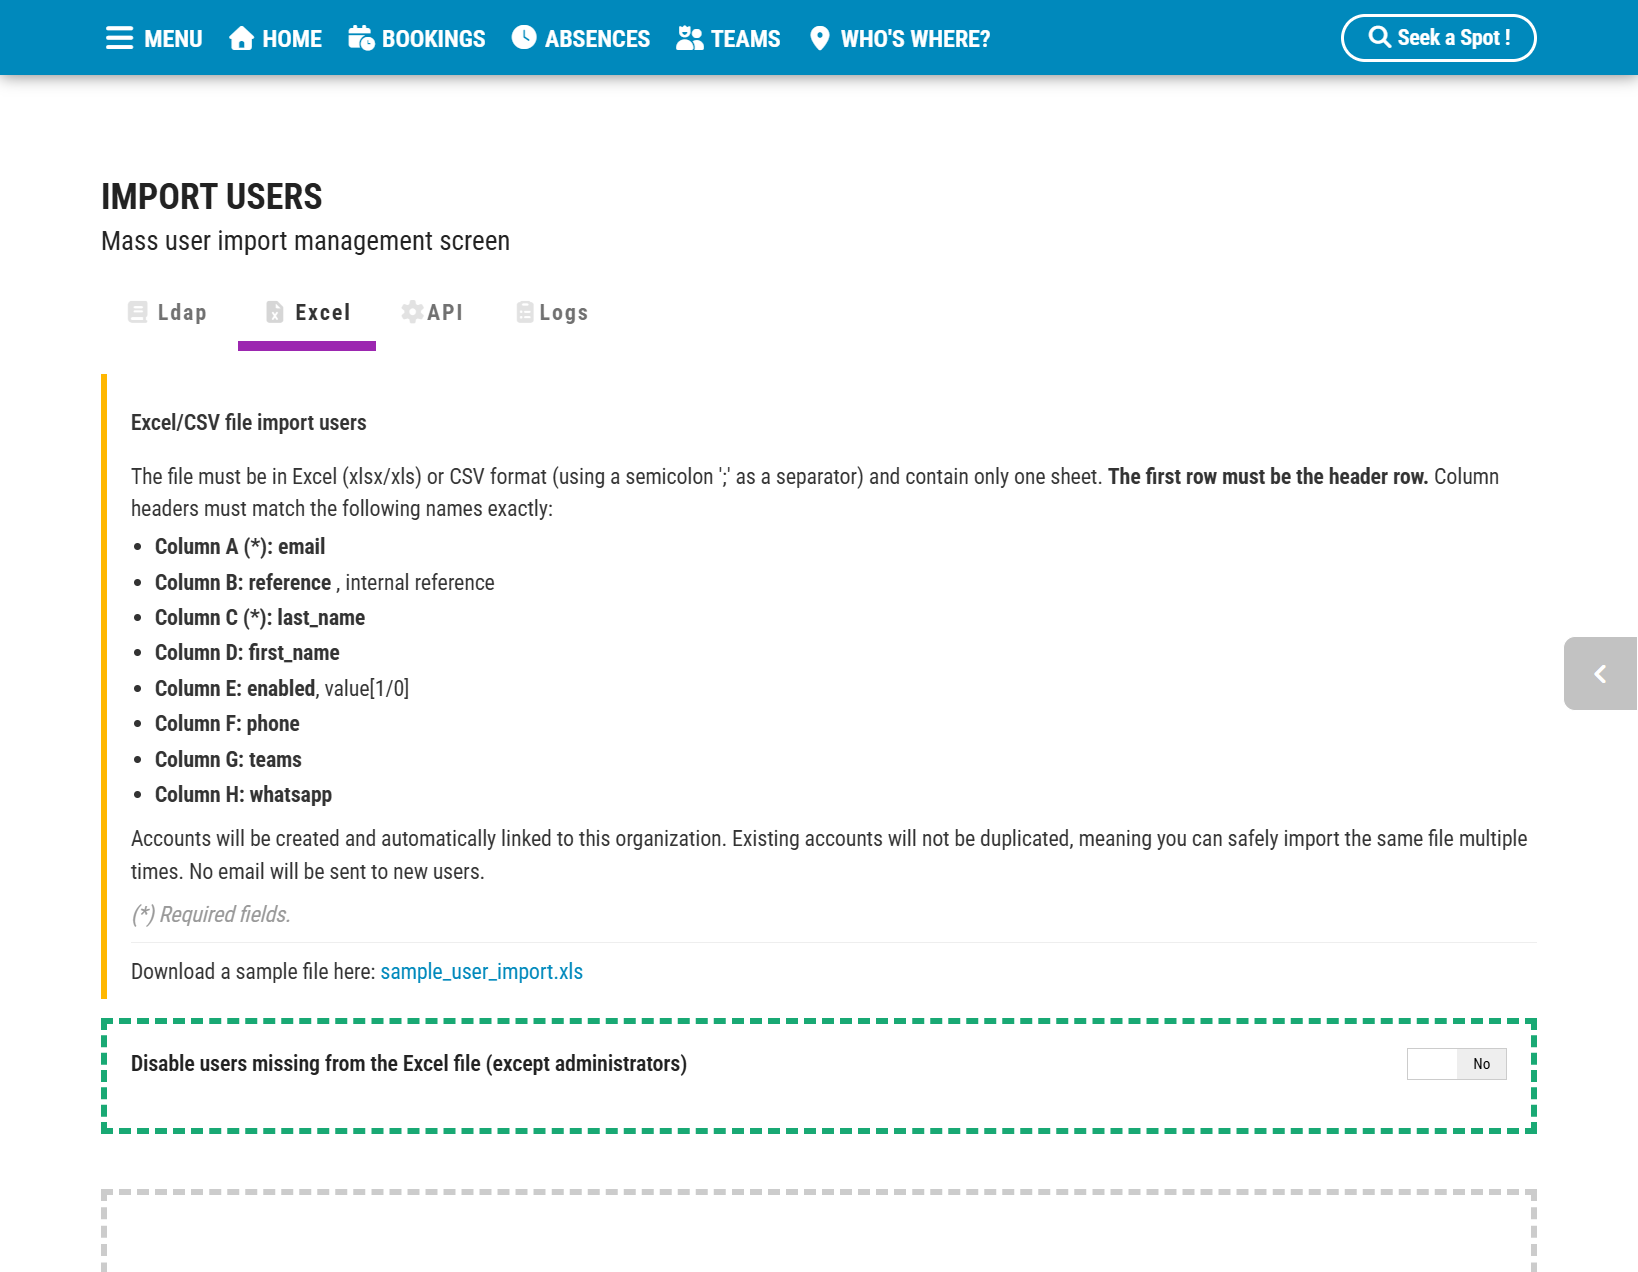
— Excel File Import: Perfect for bulk importing user lists in just a few clicks. Use the template provided in the dedicated Excel section.
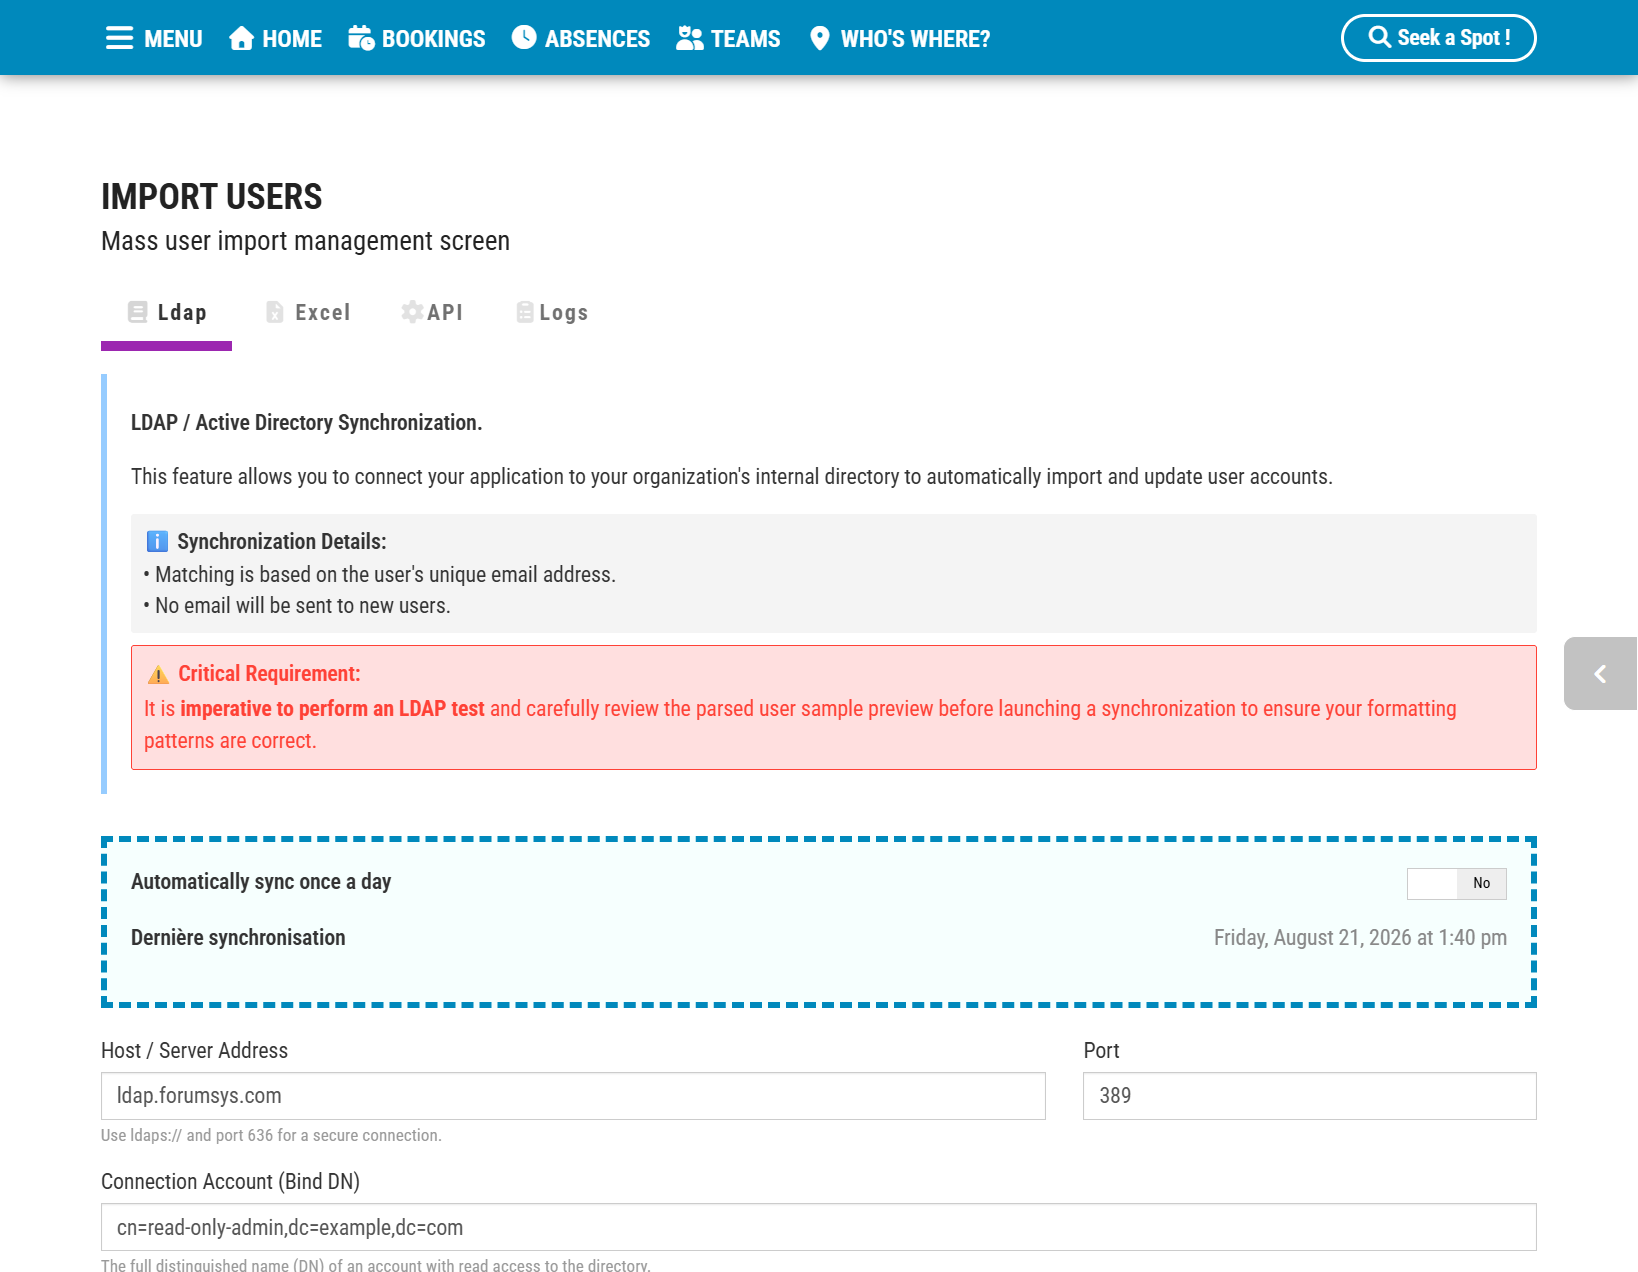
— LDAP Synchronization: Automatically sync your enterprise directory.
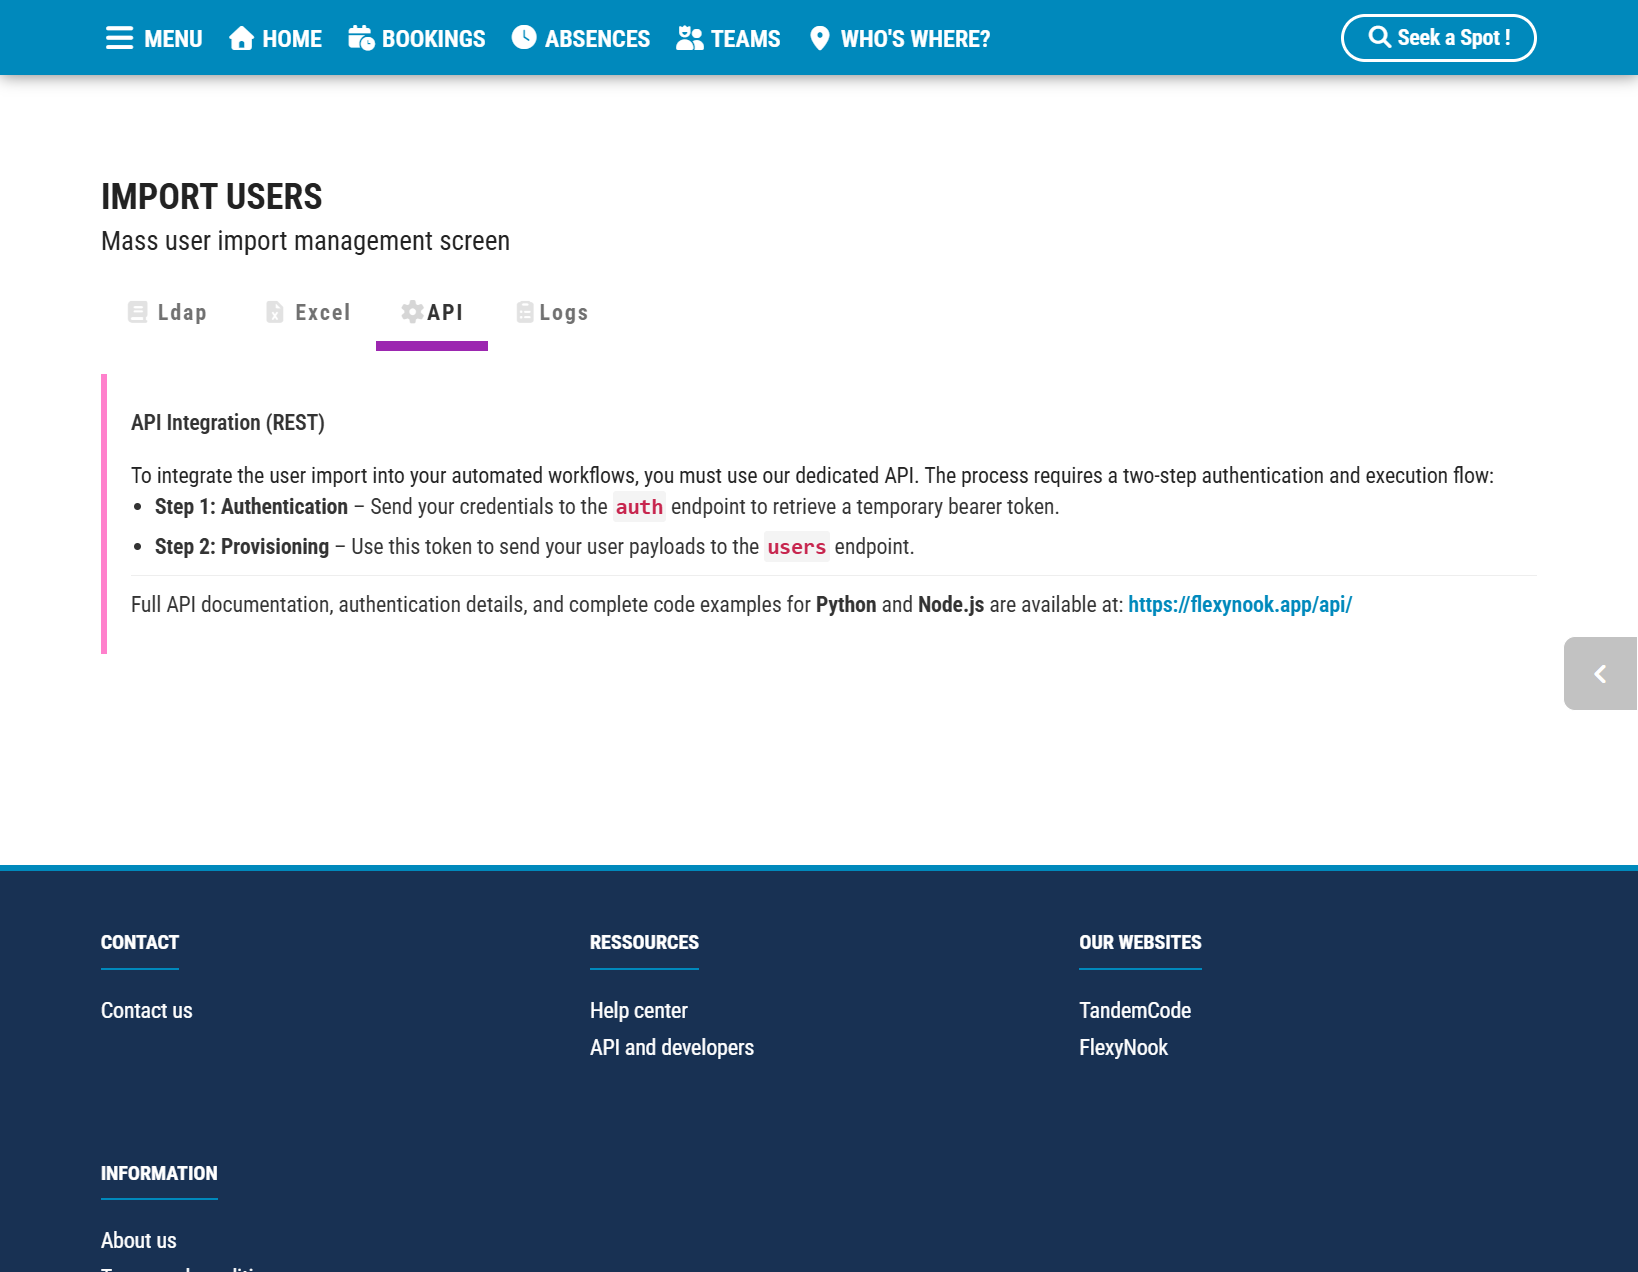
— REST API: Integrate user provisioning seamlessly with your internal HR tools. For more details, see our dedicated REST API guide.
Note: Dedicated guides are available for advanced LDAP and API synchronization setups.
Understanding Roles and Permissions
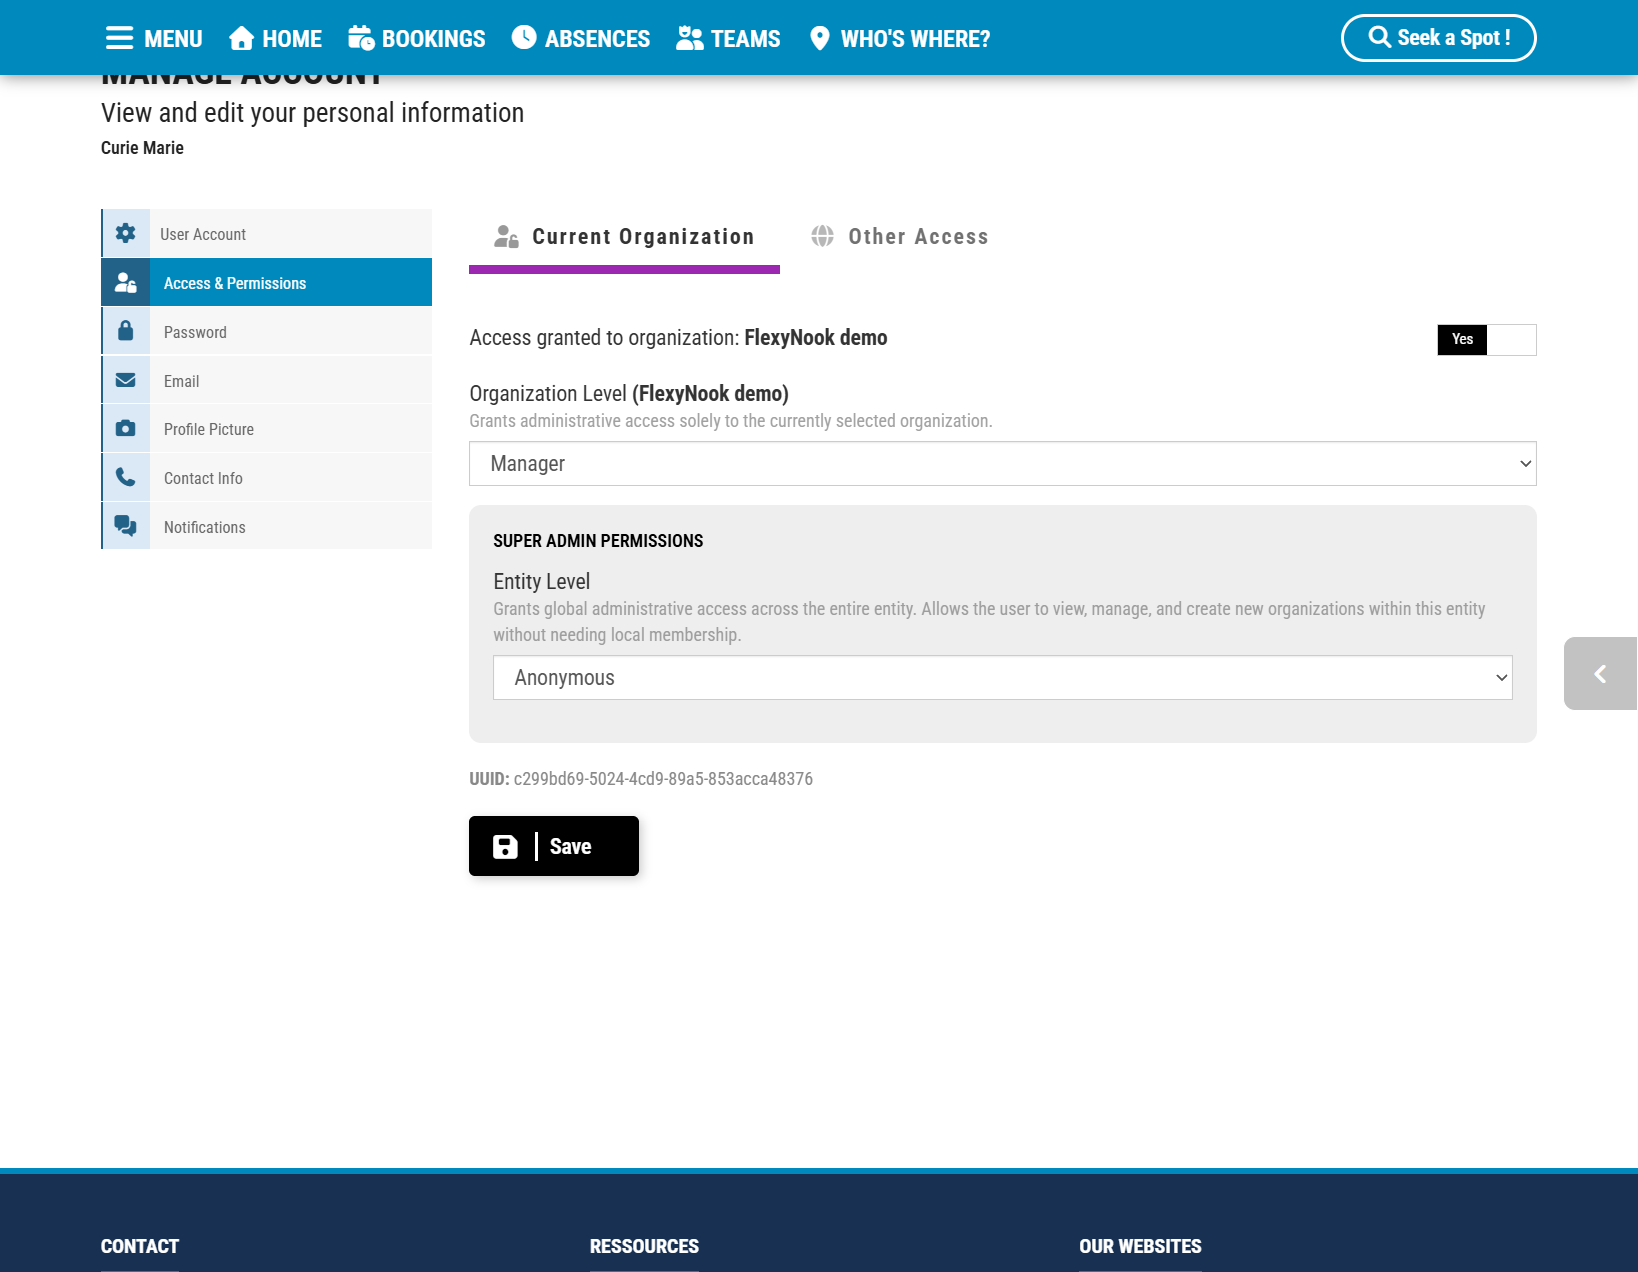
FlexyNook offers four granular permission levels to ensure everyone has access to the exact tools they need:
— Member: The default role. Allows users to book desks, parking spots, and meeting rooms for themselves.
— Manager: Enables users to manage bookings, create reservations on behalf of team members or guests, and oversee meeting spaces.
— Administrator: Grants full control over a specific organization—including space creation, system settings, LDAP sync configuration, and Excel imports.
Super Administrator: Designed for multi-tenant environments to manage multiple organizations from a centralized dashboard.
Multi-Organization & Multi-Tenant Setup
Users in FlexyNook are strictly linked to an Organization. If your account uses a multi-tenant structure, make sure to add users to all the relevant organizations they need access to.
The User Onboarding & First Login Process
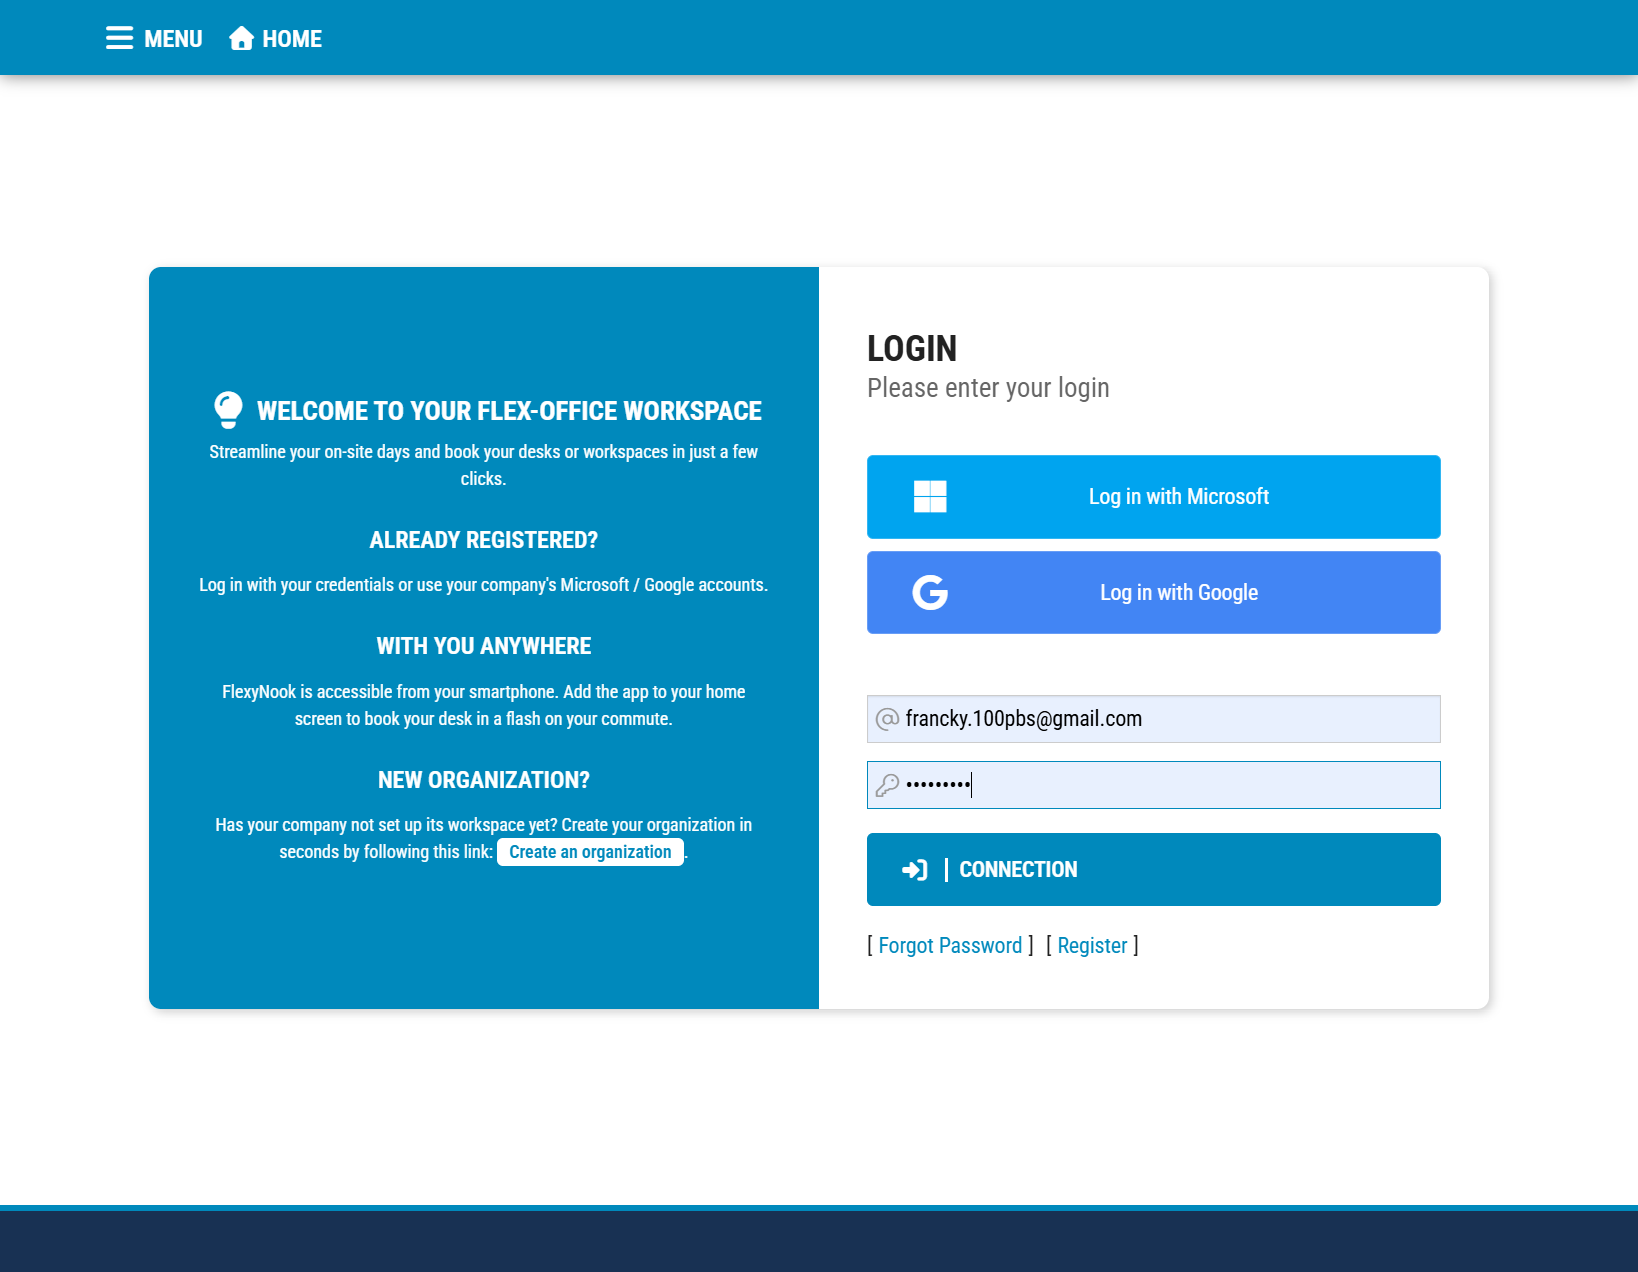
The key to a seamless first login is using the exact same email address that was used during invitation or import, regardless of the authentication method (SSO or password).
— Via Email Invitation: The user receives an automated email containing an invitation link. They simply complete the signup process using the exact email address from the invitation to automatically connect to their organization.
— Via LDAP, Excel, or API: Once imported, the user can log in immediately using SSO (Microsoft / Google) if their email matches. Alternatively, if logging in with a password, they simply use the “Forgot Password” link on the login page to set up their credentials.
Best Practice: Disabling vs. Deleting Users
When an employee leaves the company, you have two options:
— Deactivating a User (Recommended): Preserves all historical booking data, occupancy statistics, and past reservations while blocking future access.
— Deleting a User: Permanently removes the account, completely erases their booking history from the database, and directly impacts past analytics (such as space occupancy rate statistics).
Have a question about this guide or FlexyNook?
Need help configuring your spaces or want to clarify a feature? Our team is here to help you get started.